

In this article you'll learn how to setup your custom email account on iPhone, and use it's Mail App as an email client on your Smartphone. Follow the steps below to setup your domain email on mac
A great benefit of using Mac Mail is that if you are also using an iPhone, iPad and/or Apple Watch in addition to your Mac computer, you can sync your domain emails across all devices. And if you don’t want to re-enter your email account settings by hand, you can use iCloud to sync mail account information (ie. username and password) between devices.
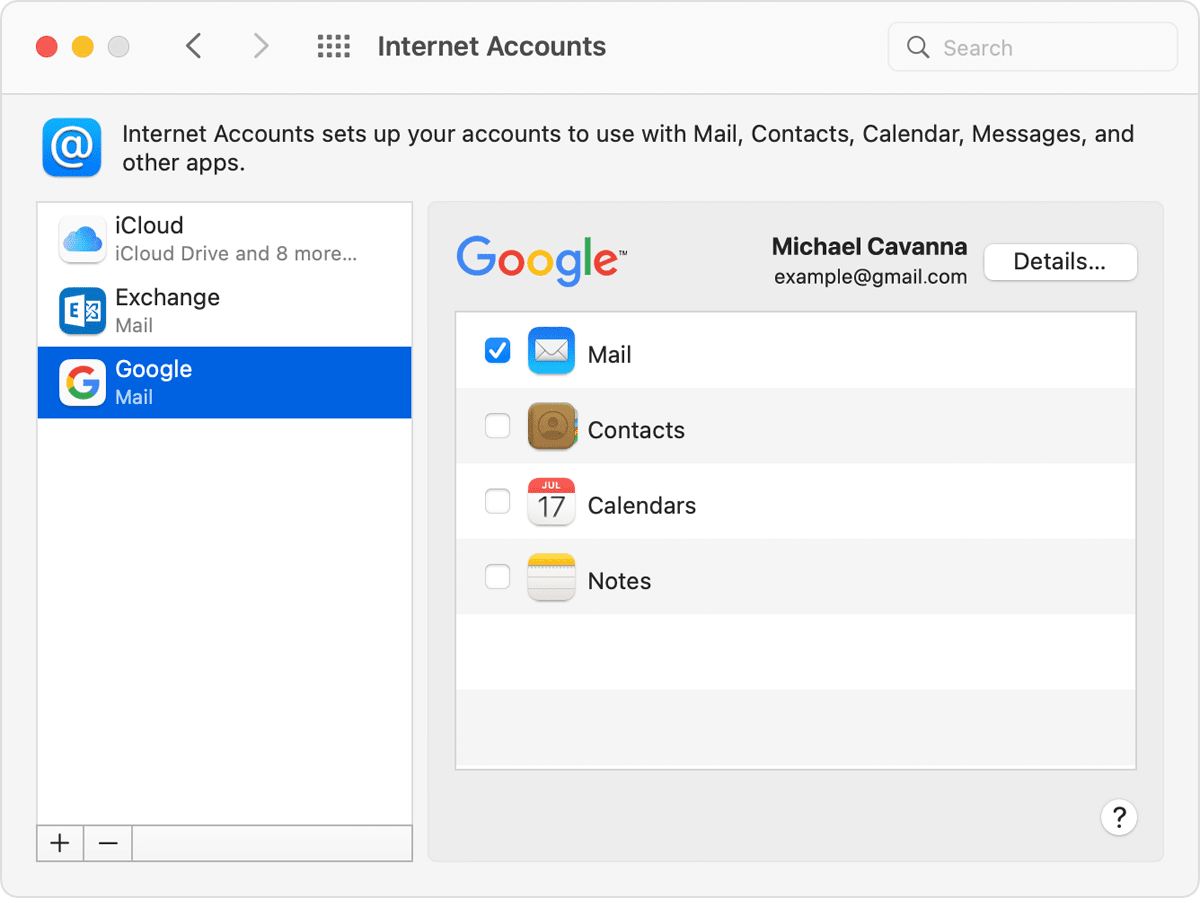
- Click on Mail on the dock of your computer.
- Click on Mail and select Preferences.
- On the Accounts tab, click +.
- Select the Other Mail Account… option and click Continue.
- Enter your Name, domain email address and password. When ready, click Sign In.
- On the next screen, enter your domain email account username. Your domain email account username is the same as your domain email address.
- From the Account Type drop-down menu, select the desired protocol: IMAP.
- Under Incoming Mail Server, copy and paste the incoming mail server settings as per your Email Client Info.
- Mail Server is mail.{yourdomain}
- Username is your full email address
- Password is the same password used to access webmail
- Under Outgoing Mail Server, copy and paste the outgoing mail server settings as per your Email Client Info.
- Mail Server is mail.{yourdomain}
- Username is your full email address
- Password is the same password used to access webmail
- When ready, click Sign In.
- Your domain email account is now added to your Mac Mail client. Make sure the Enable this account option is checked.
- Next, you will need to configure a couple advanced settings. Click on the Advanced tab.
- On the Advanced tab, check the port and SSL options. Because we use the Secure-SSL option, check the Use SSL box. Use 993 as Port
- Also make sure the following options are unchecked.
- Allow insure authentication
- Automatically detect and maintain account settings
- When ready, close the window and save your new settings.
- Next, you will need to configure the outgoing mail settings. Open the account information tab.
- From the Outgoing Mail Server (SMTP) drop-down menu, select Edit SMTP Server List.
- On the Advanced tab, check the port and SSL options. Because we use the Secure-SSL option, check the Use SSL box. Use 465 as Port
- Also make sure the following options are unchecked.
- Allow insure authentication
- Automatically detect and maintain account settings
- When ready, click OK.
Your Mac Mail setup is now complete and you can use it to access your email account. If you want to use Mac Mail to access another domain email address, simply repeat the setup process outlined above for each account you want to add to your Mac Mail client.