

Gmail app brings the best of Gmail to your Android phone or tablet with robust security, real-time notifications, multiple account support and search that works across all of your emails.
In this article you'll learn how to setup your custom email account on Gmail App, and use it as an email client on your Android Smartphone.
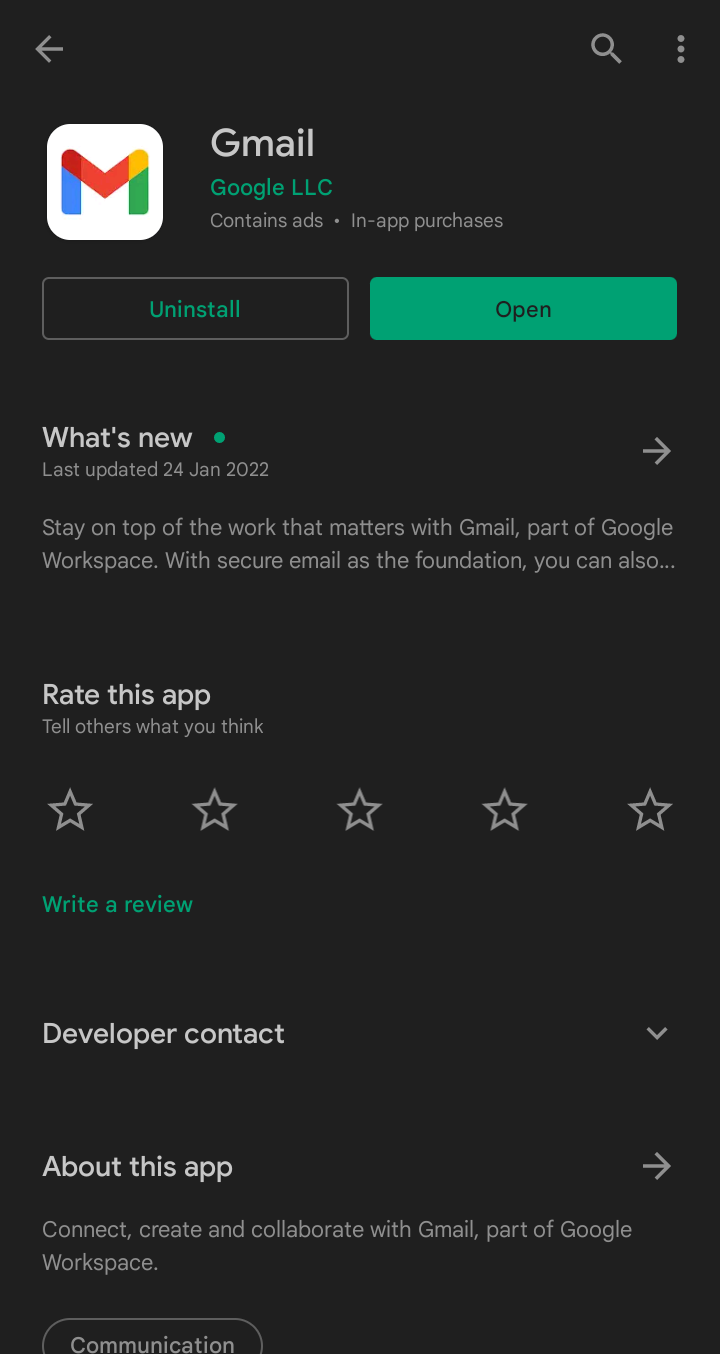
1. Update the App
Before you get started, Go to Playstore, and update the app to the latest version.
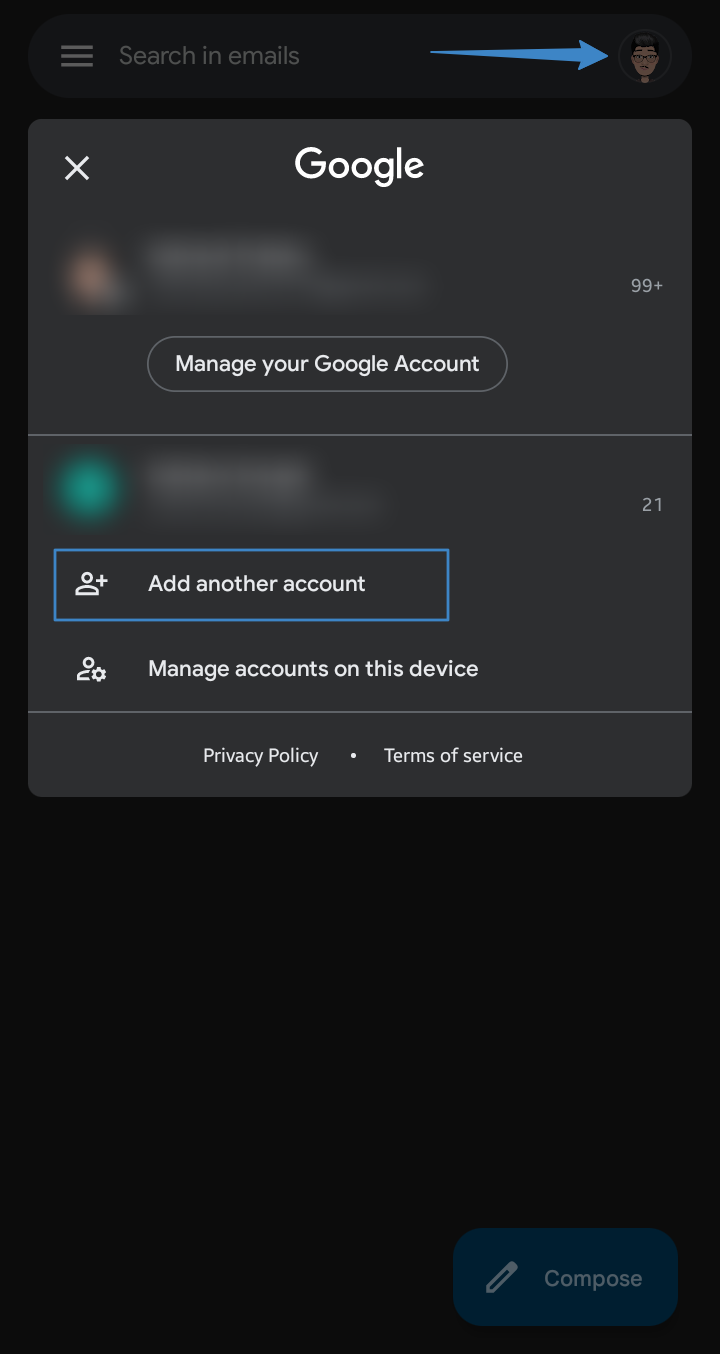
2. Adding an Account
To add a new account, Click on your avatar at the top-right corner of the app.
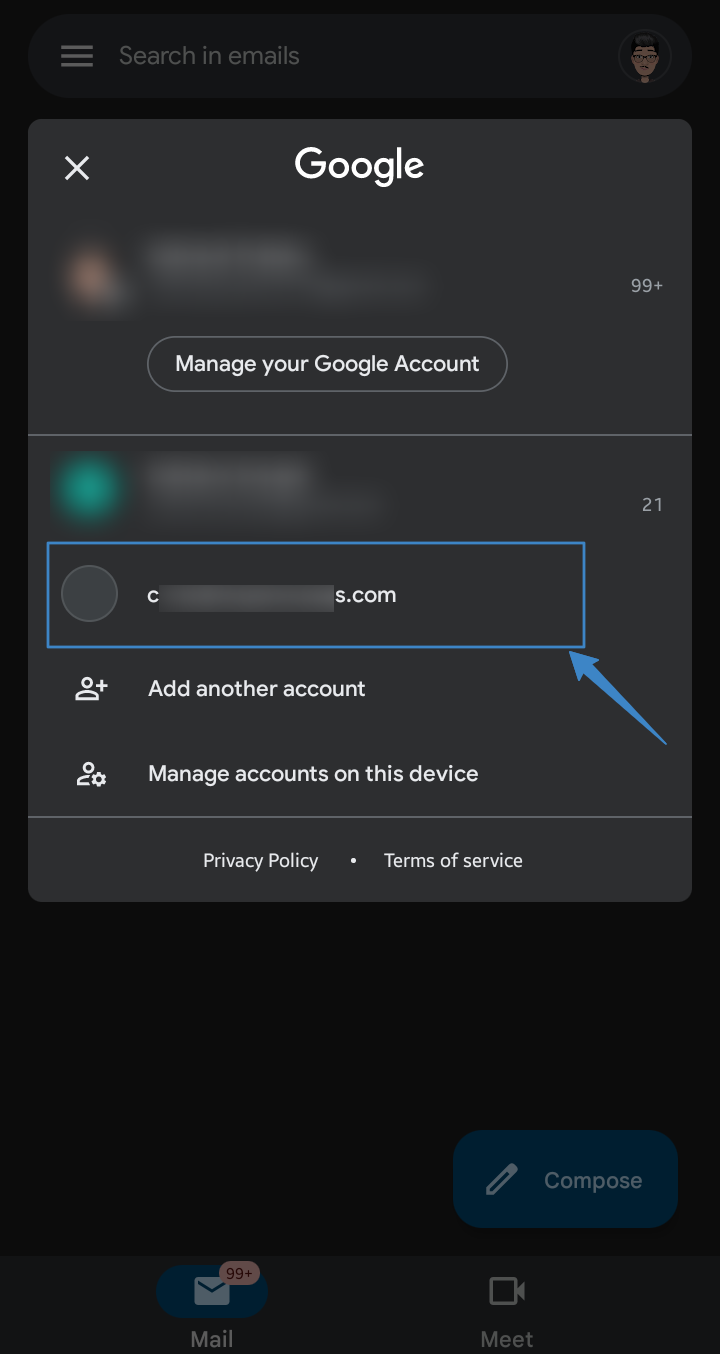
Then click on Add Another Account
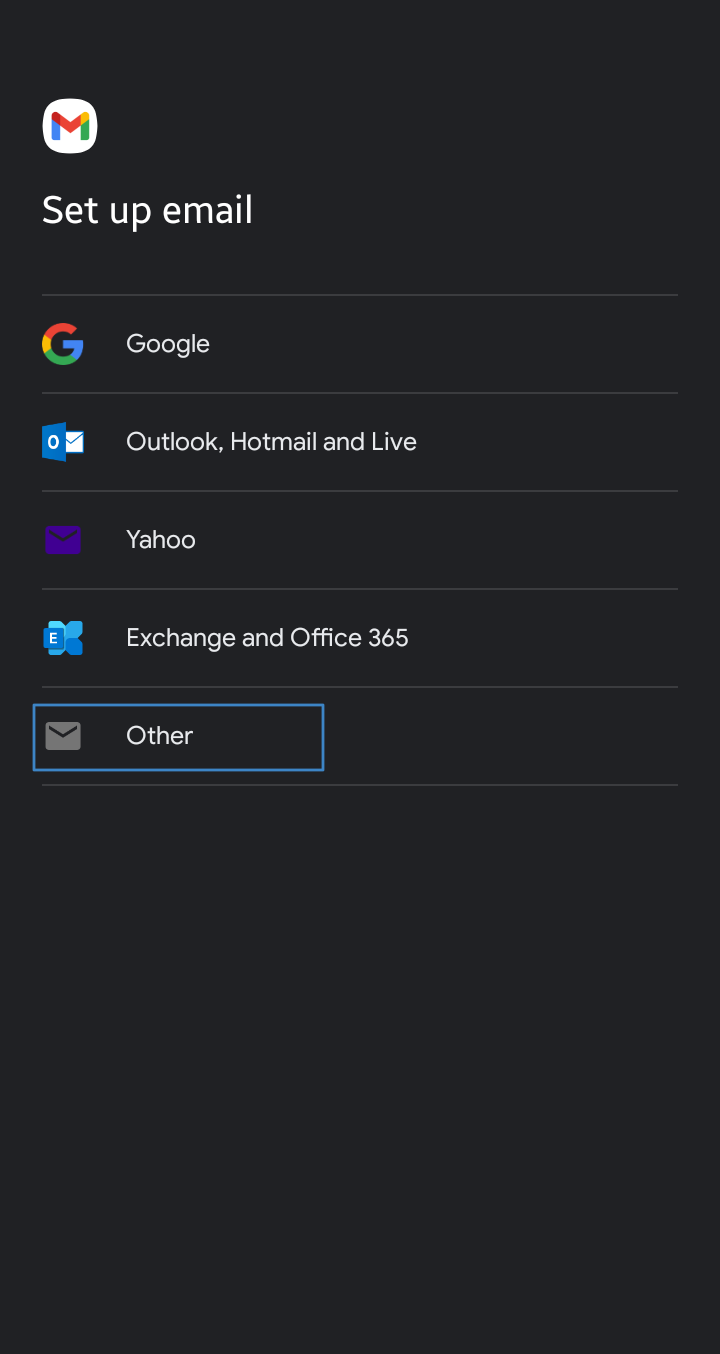
Click on Other
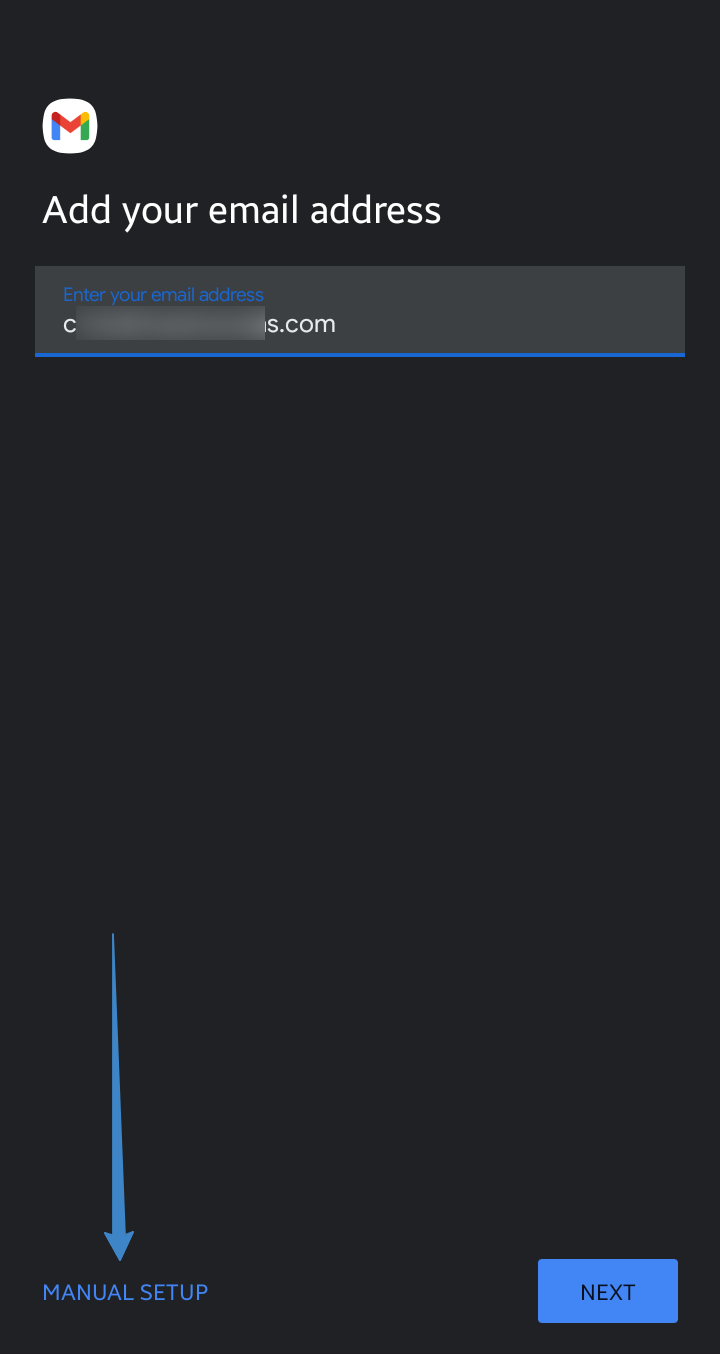
Enter your Email address, then click on Manual Setup
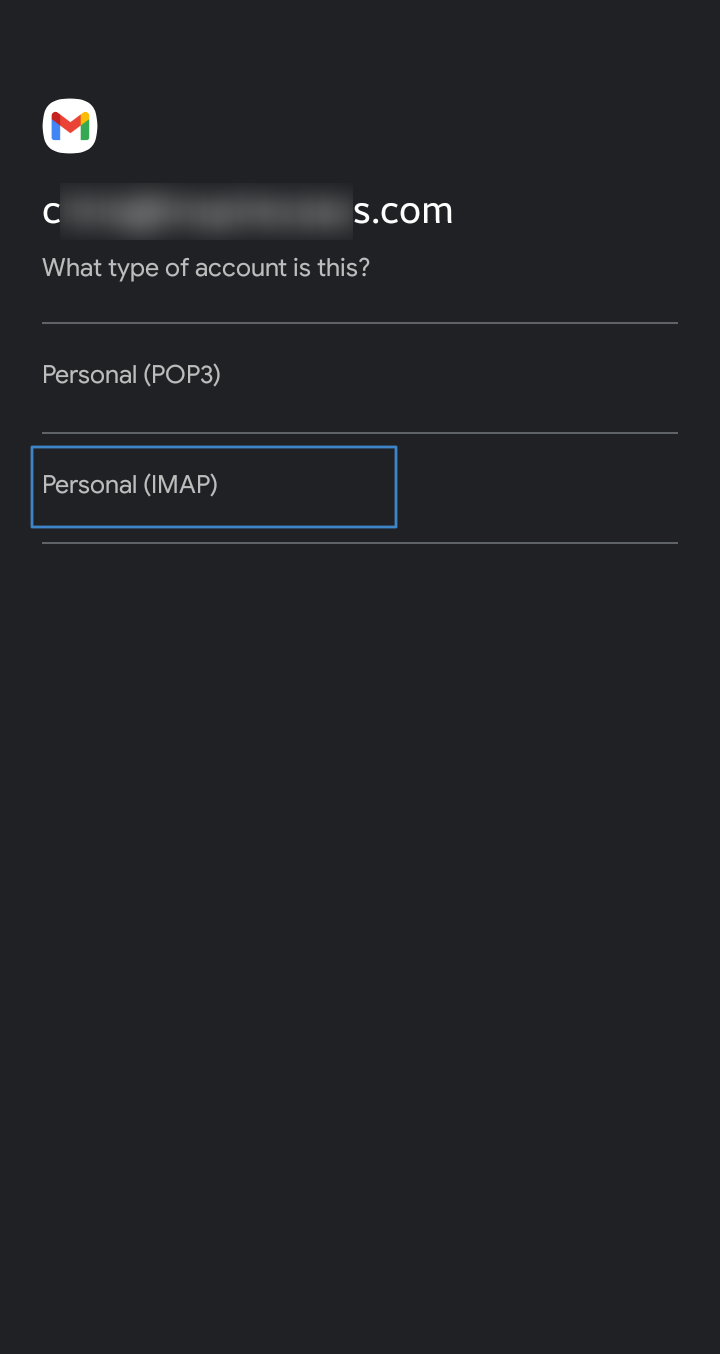
Choose Personal (IMAP)
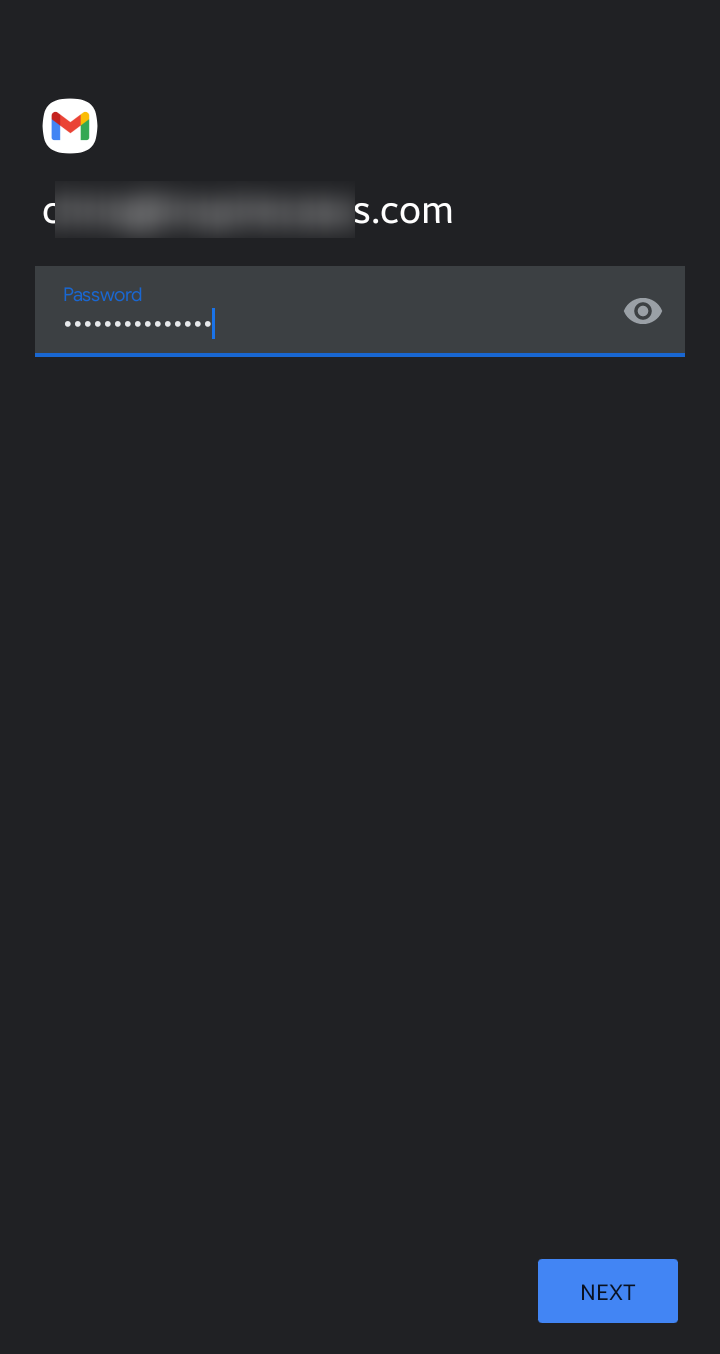
Enter Your password. Then Click Next How to get credentials?
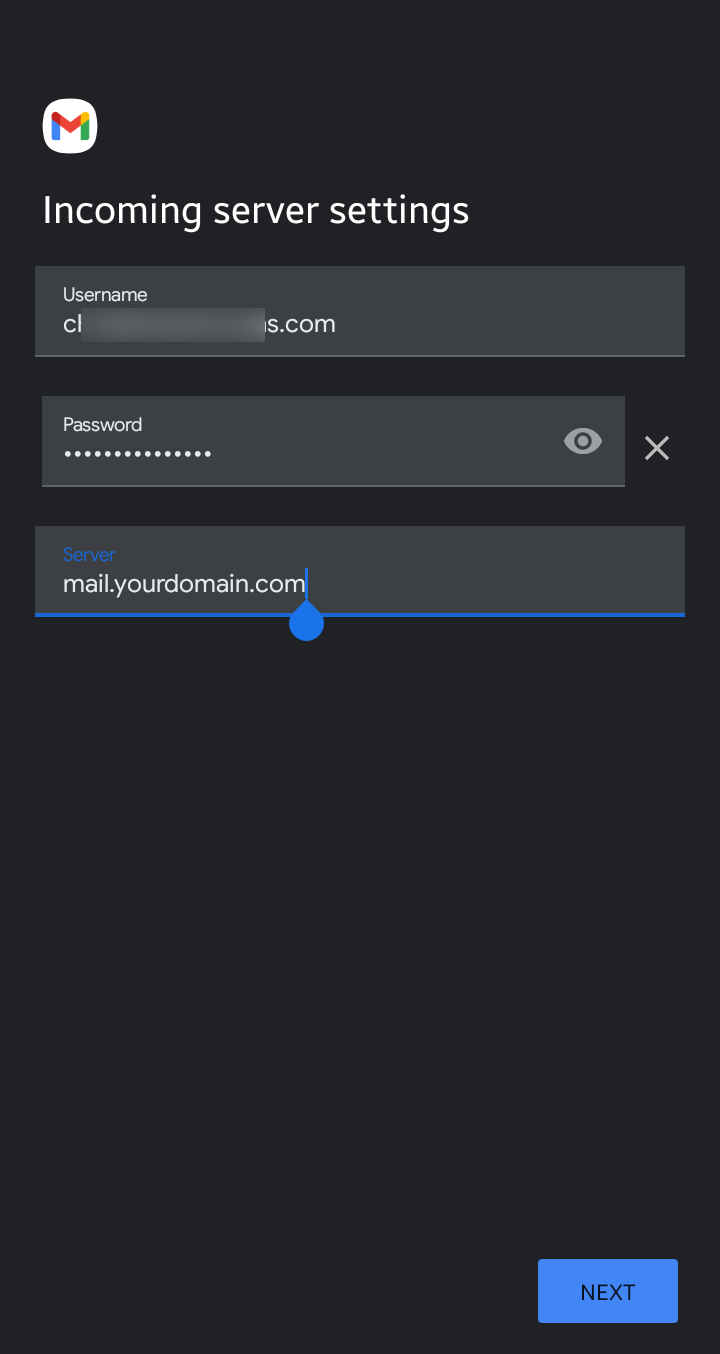
In Incoming server settings, change the "Server" field to mail.{yourdomain}.
Keep the other fields as it is. Click Next to continue
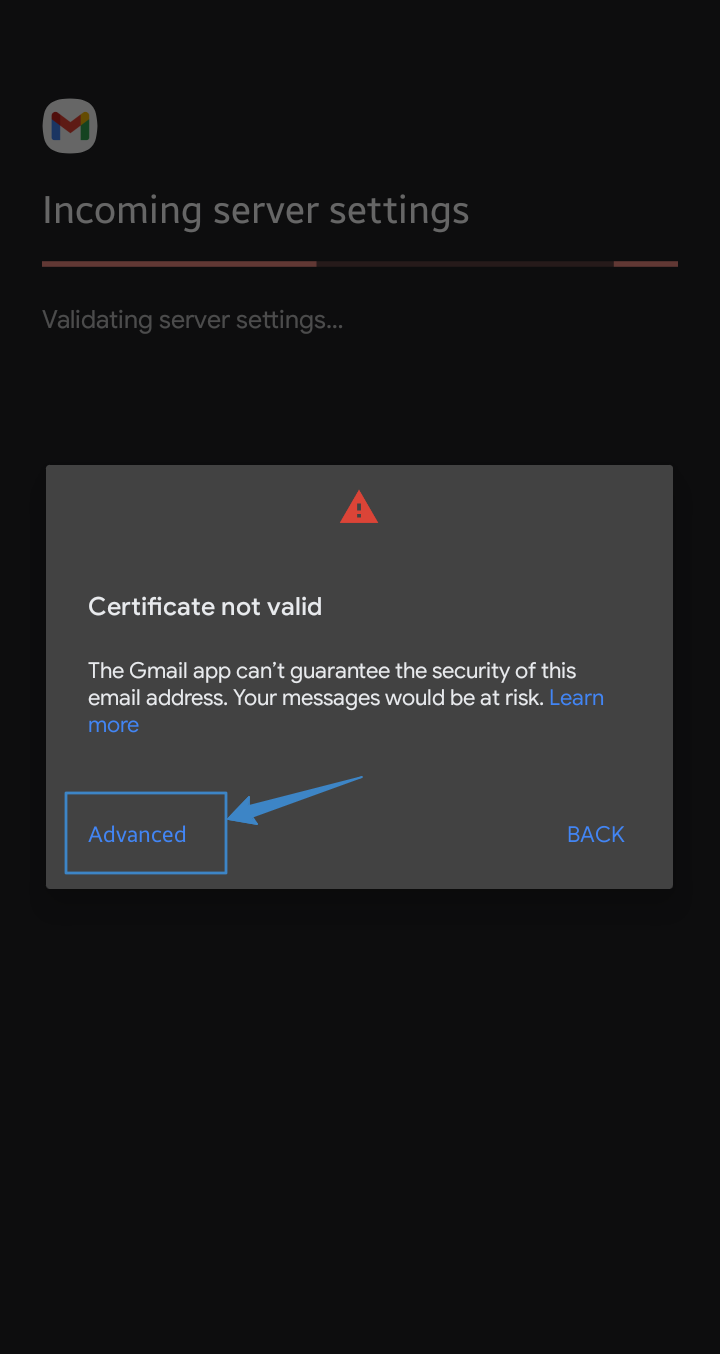
You might get a warning about invalid certificate, click on Advanced
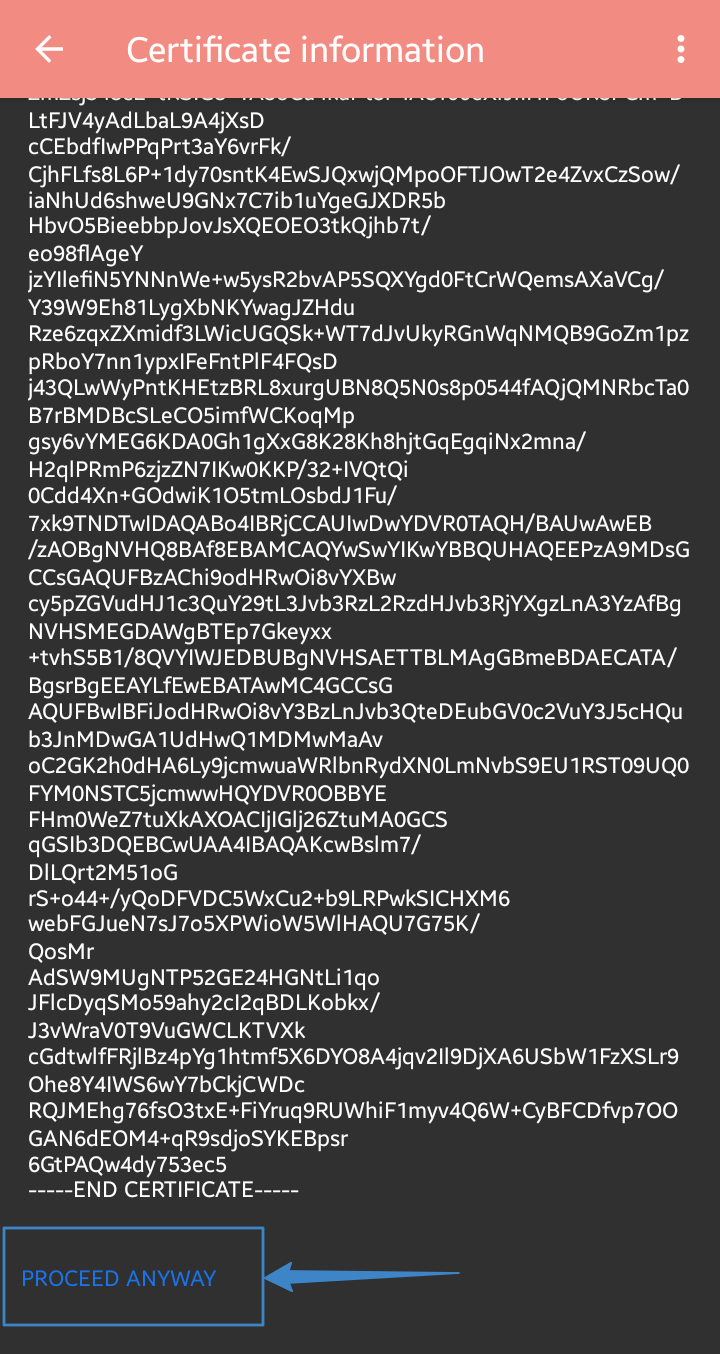
Scroll down to bottom, Click on Proceed Anyway at the bottom left corner to ignore the warning.
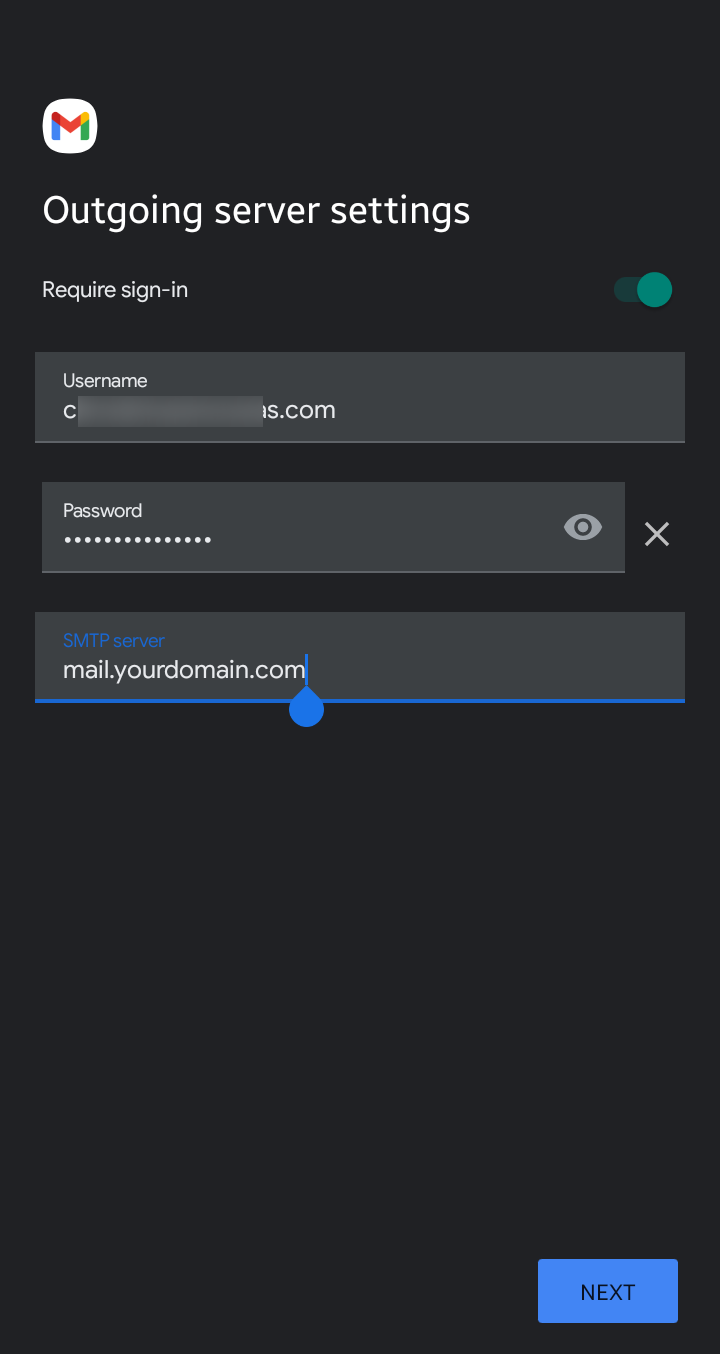
In Outgoing Server Settings, change the "Server" field to mail.{yourdomain}.
Keep the other fields as it is. Click Next to continue
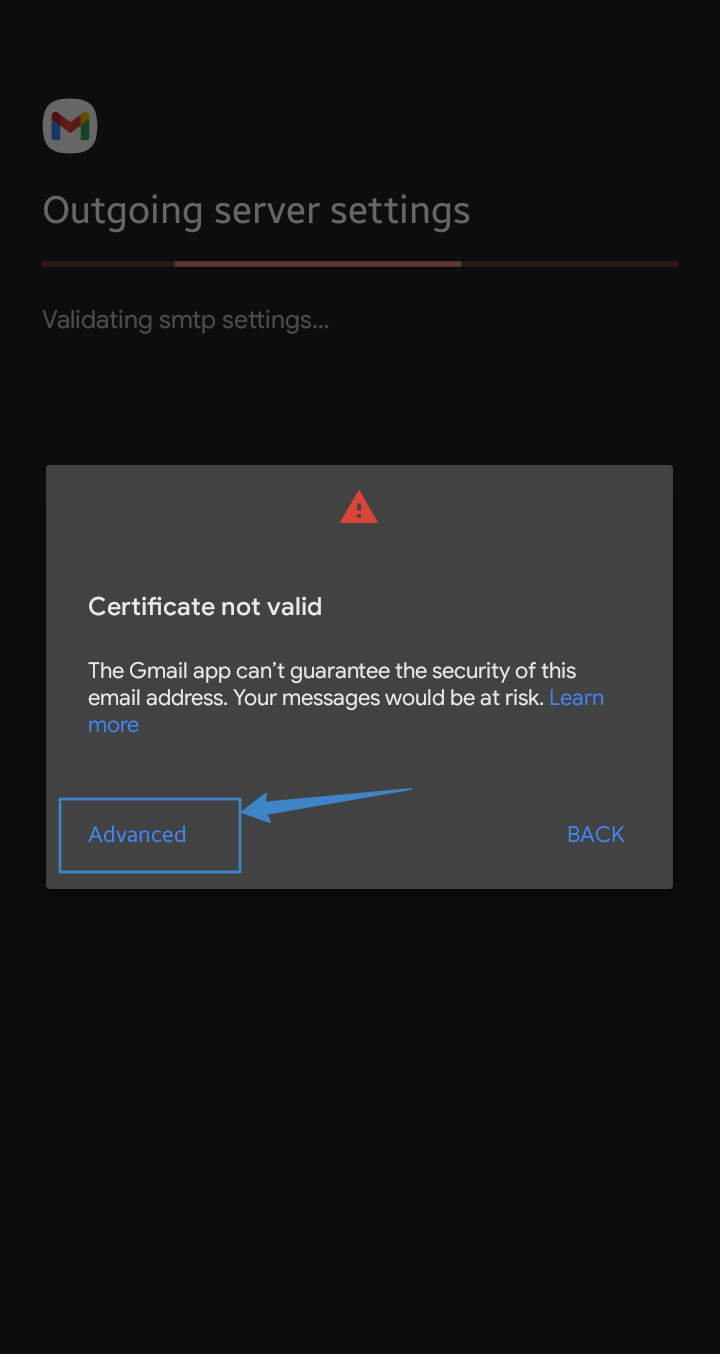
You might get a warning about invalid certificate, click on Advanced
Scroll down to bottom, Click on Proceed Anyway at the bottom left corner to ignore the warning.
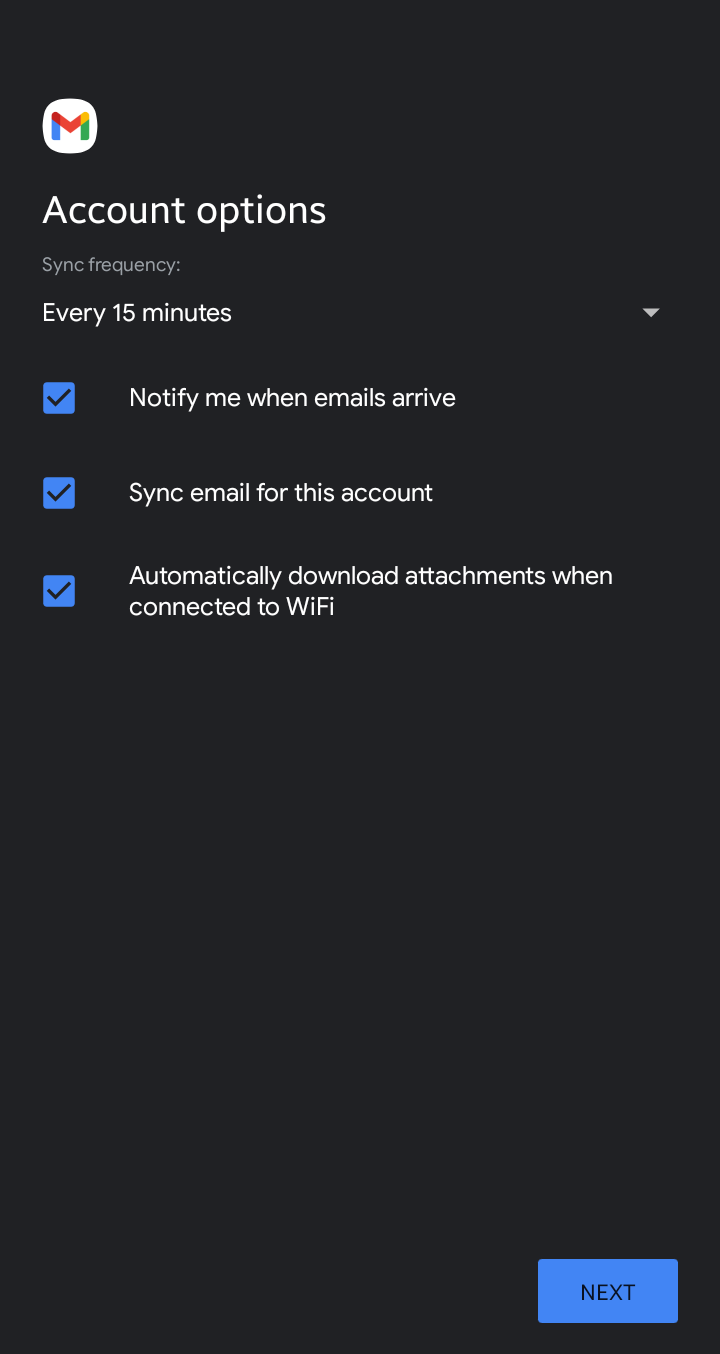
In Account Options, leave everything to default. Then Click Next
In the last step, Give a name to your account, and Sender Name
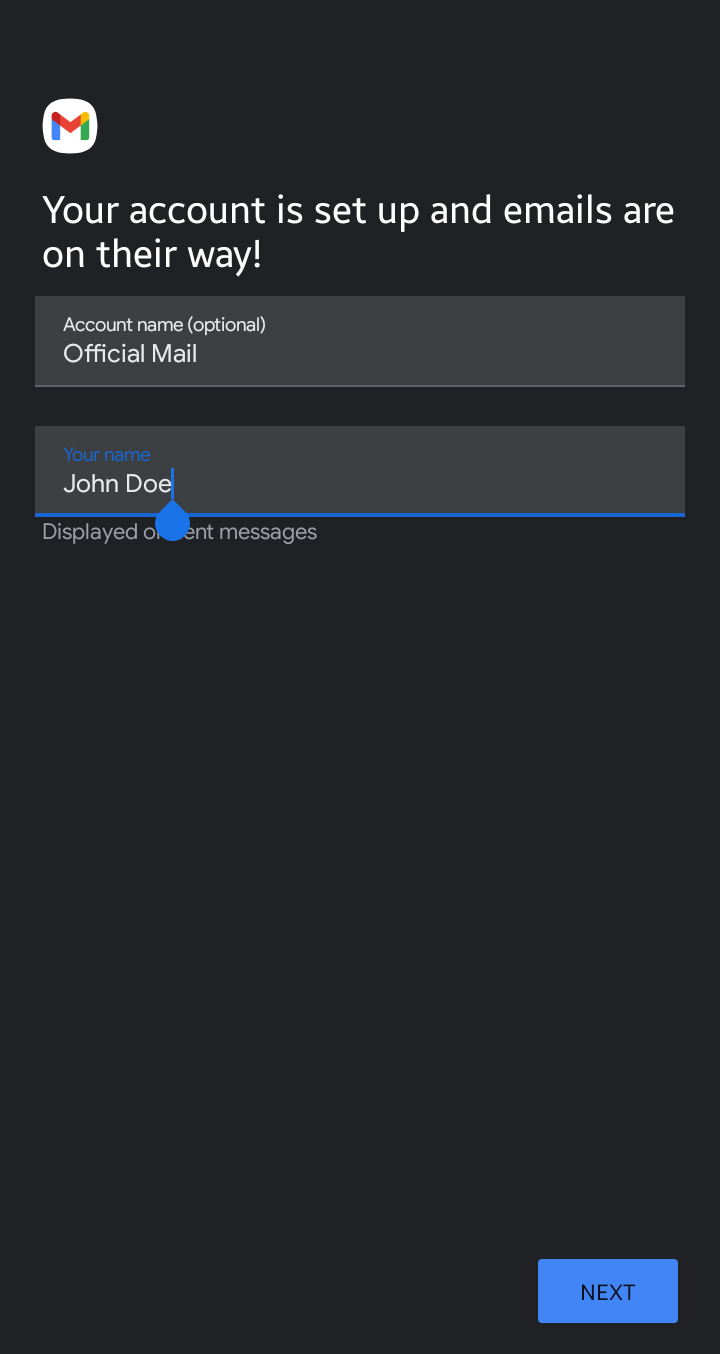
Click Next to continue. If the server details are valid, gmail app will close after validation.
3. Accessing the Mailbox
Reopen the app, and Click on your avatar at the top right corner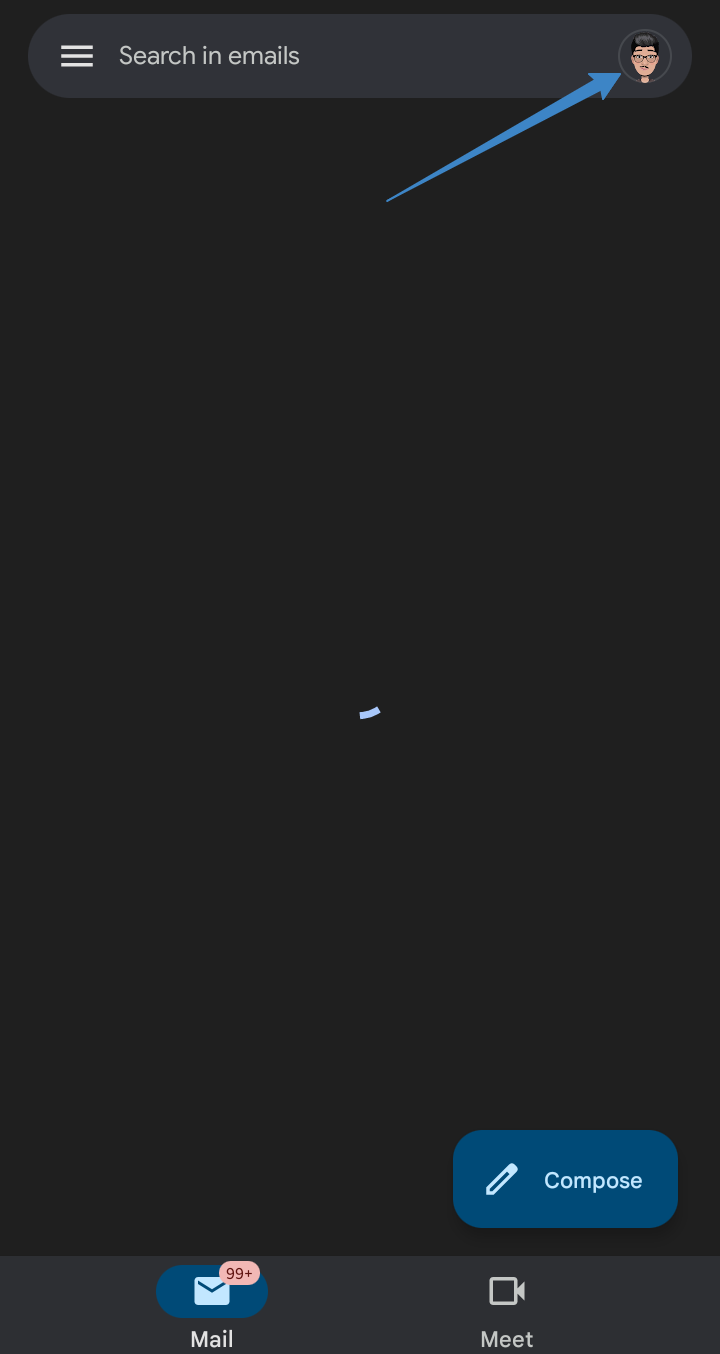
Here you'll see a new account that you added, Click on it to access the mailbox
That's it. Now you have synced your emails to your smartphone.