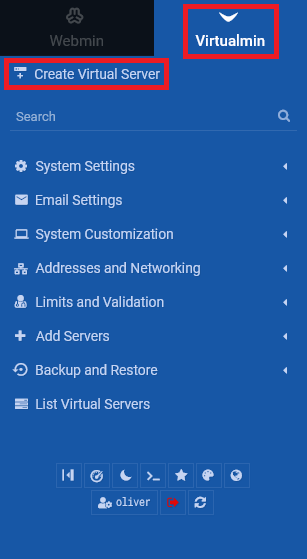
To create a server (e.g. for a website you want ot setup), go to the left menu bar, select the Virtualmin tab and click on the button "Create Virtual Server", above the search bar. In the following, you see a settings mask with multiple parameters that are configurable.
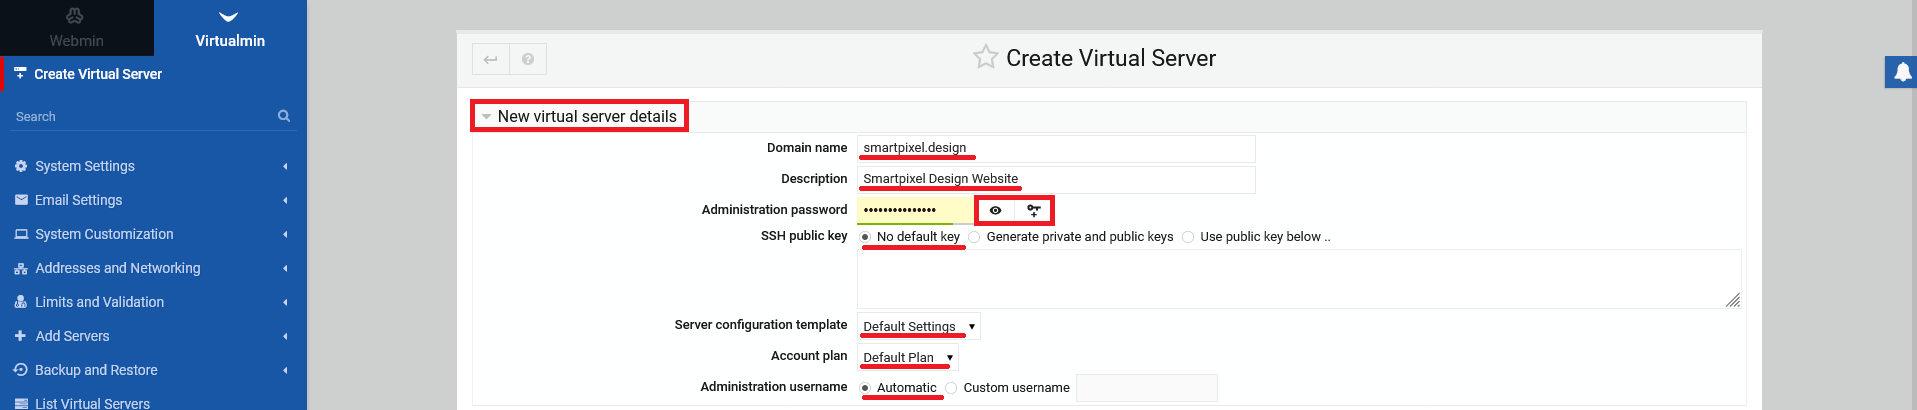
1. New virtual server details
1.1 Basic details
Fill in the "Domain name" (e.g. "smartpixel.design"), a server "Description" (e.g. "The awesome SmartPixel Design") and an "Administration password". The password is getting generated automatically. Make sure you save your password. Alternatively, you can fill in your custom password. A colored bar will show you the strength of your password (red being insecure, green being strong). Click on the "eye" icon to make your current password visible. Click on the "key" icon, to generate a new password which will be copied to your clipboard automatically.
1.2 SSH setup
If you want to login and perform operations or transfer data from a remote computer onto your server (e.g. from your personal computer/laptop at home), you need a key for a secure connection. SSH is a network communication protocol that allows a secure connection and communication between your server and your remote PC. Logging into your server remotely requires a SSH-Client (program) where you need to use the key at.
Choose either "No default key", "Generate private and public keys" or "Use public key below". If you do not require a remote access to your VPS, you can leave it at "No default key". Otherwise a key will be generated when you finally create the server in the end.
1.3 Further settings
For "Server configuration template" you can leave it as "Default Settings", if you did not setup custom templates already to choose from. You can go with the default any time.
Under "Account plan", choose "Default Plan" if you did not setup custom plans already to choose from. You can go with the default any time.
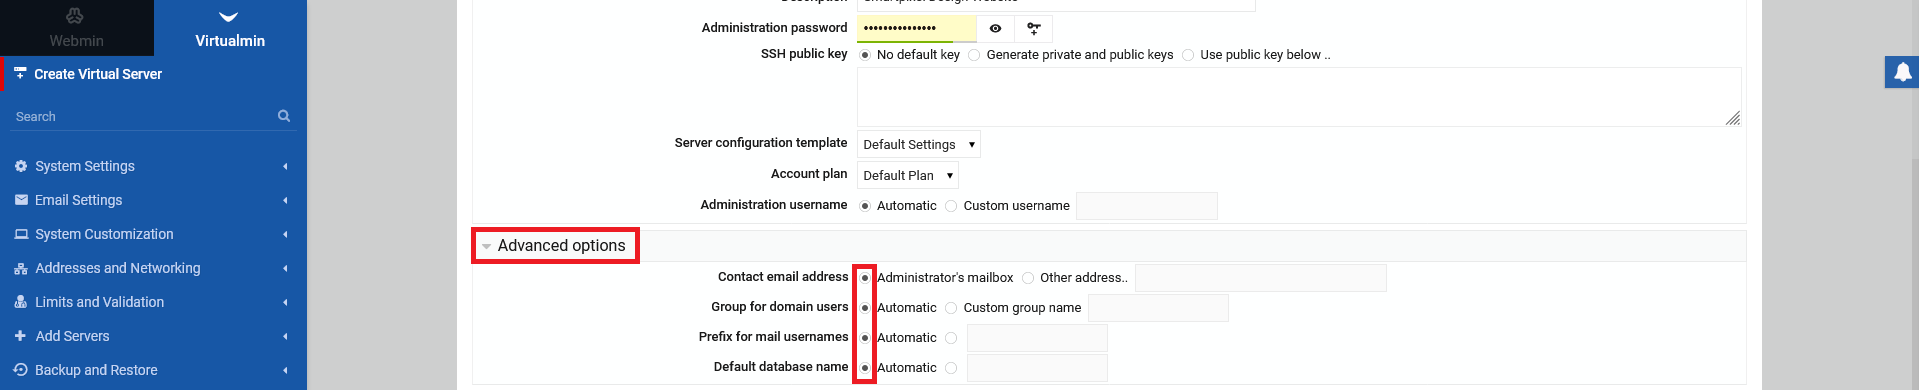
2. Advanced options
Usually, you dont have to set anything under the tab "Advanced settings". You can leave it as is. What happens is, that an administrators mailbox is getting created, that a group for domain users is getting created with respective prefixes for mail usernames and a default database name. As long as you dont have any special needs regarding that, you dont need to touch those settings.
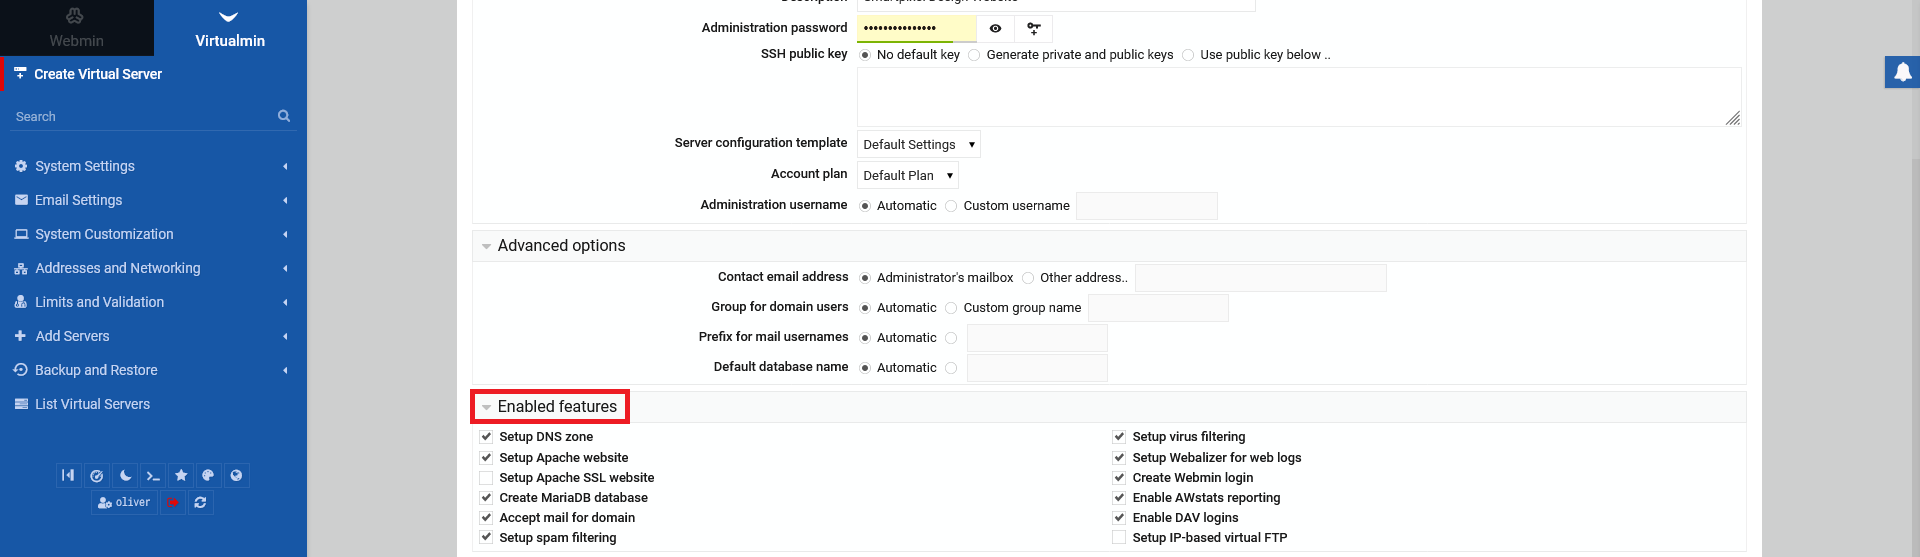
3. Enabled features
As for the "Enabled features" tab, you can leave it as is, not changing anything. All necessary options to run your server are ticked on by default.
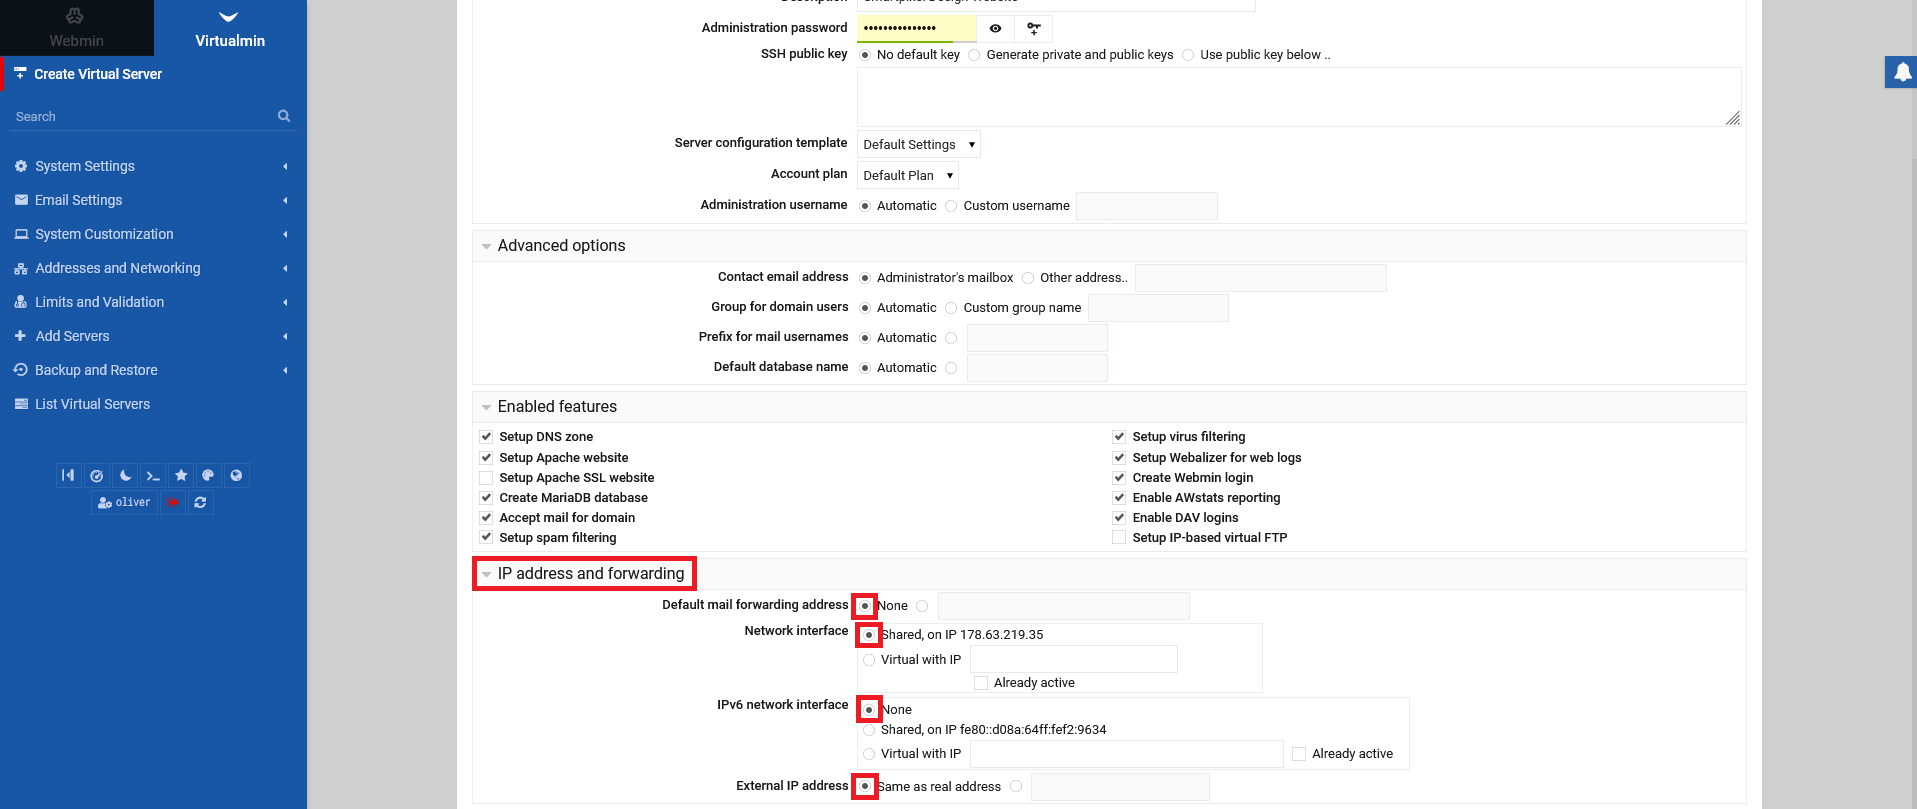
4. IP address and forwarding
If you have to forward the domain to a custom IP address, you can fill out these details here. If you dont have such details and you only want to create a server, leave it as is, not changing anything.
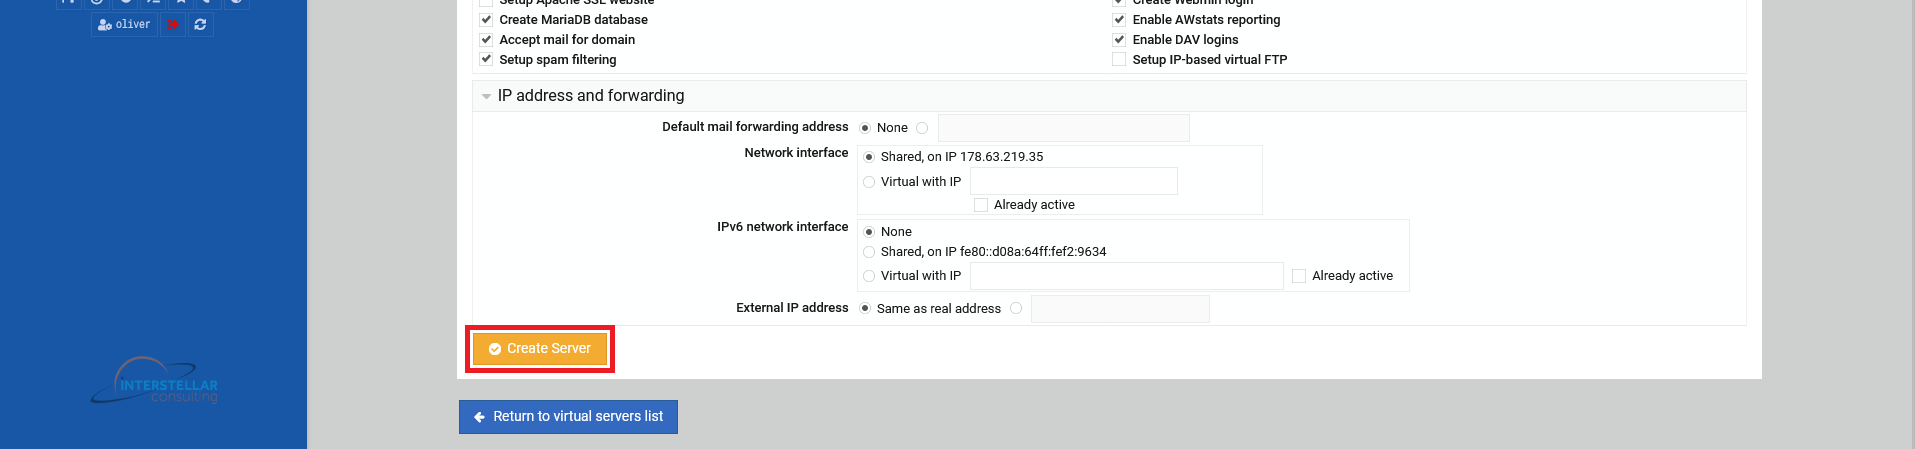
5. Creating the server
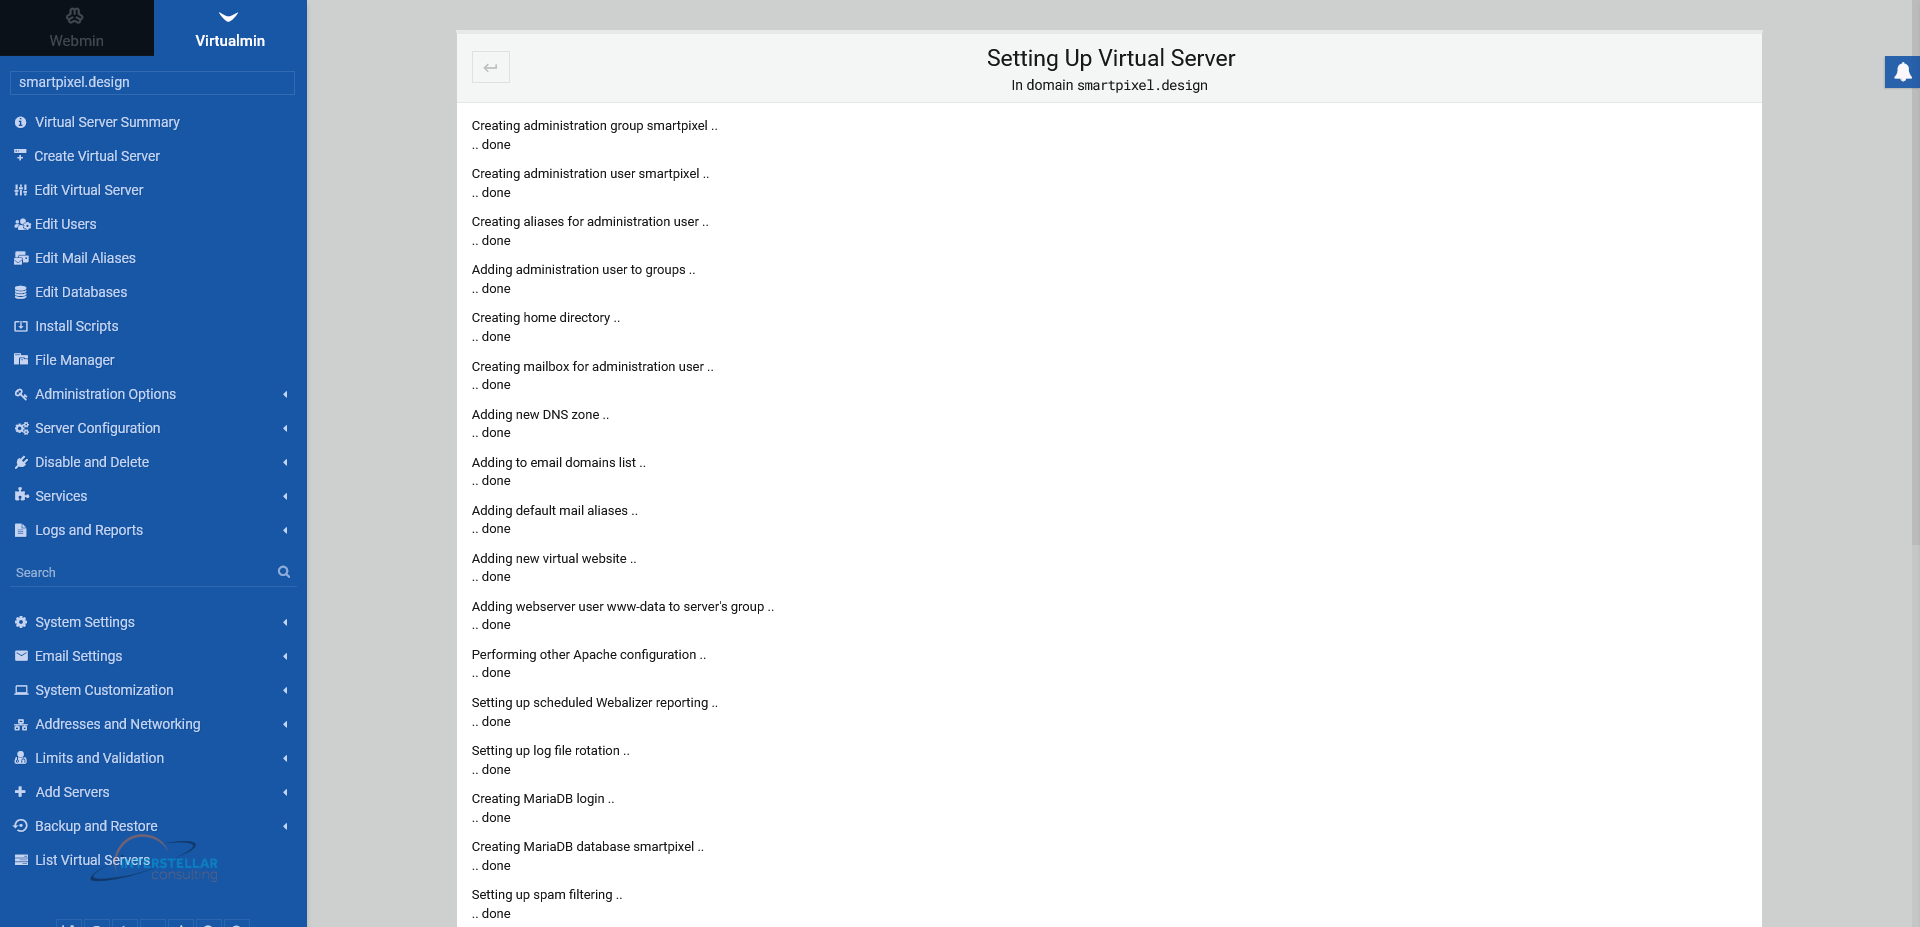
After you have gone through all steps, check them one more time to make sure that everything is right. Click "Create Server" to add this new server to your Virtualmin installation.
After clicking the button, you will see a screen that shows the ongoing procedure of setting up your server. Let it finish. When its done, you can proceed with whatever task you want to do.