

SSH is also referred to as Secure Shell or Secure Socket Shell it is a network protocol that gives users to access a computer over an unsecured network and it also provides strong password authentication, encrypted data communication between computers a server. Public key encryption is also done by this network protocol.
In this article, you'll learn how to use Bitvise to access your server through SSH
1. What is Bitvise?
Bitvise is a free SSH file transfer, terminal, and tunneling SSH Client developed by Wei Dai, and the first version released in May 2001, the Bitvise team had 6 people all are developers and they are planning to develop robust and reliable security software!.

2. Download and Install Bitvise
You can download Bitvise's latest version by visiting https://www.bitvise.com/ssh-client-download. The current version available is 8.46, Once you downloaded the file run the installer.
Select the location where you want to install the application or leave it as the default folder.
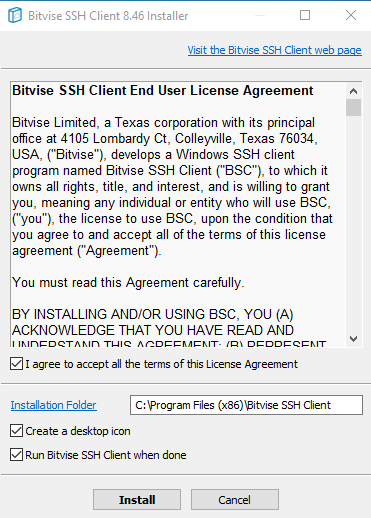
Once the installation is done the application will automatically open up.
3. Connecting to your server through SSH
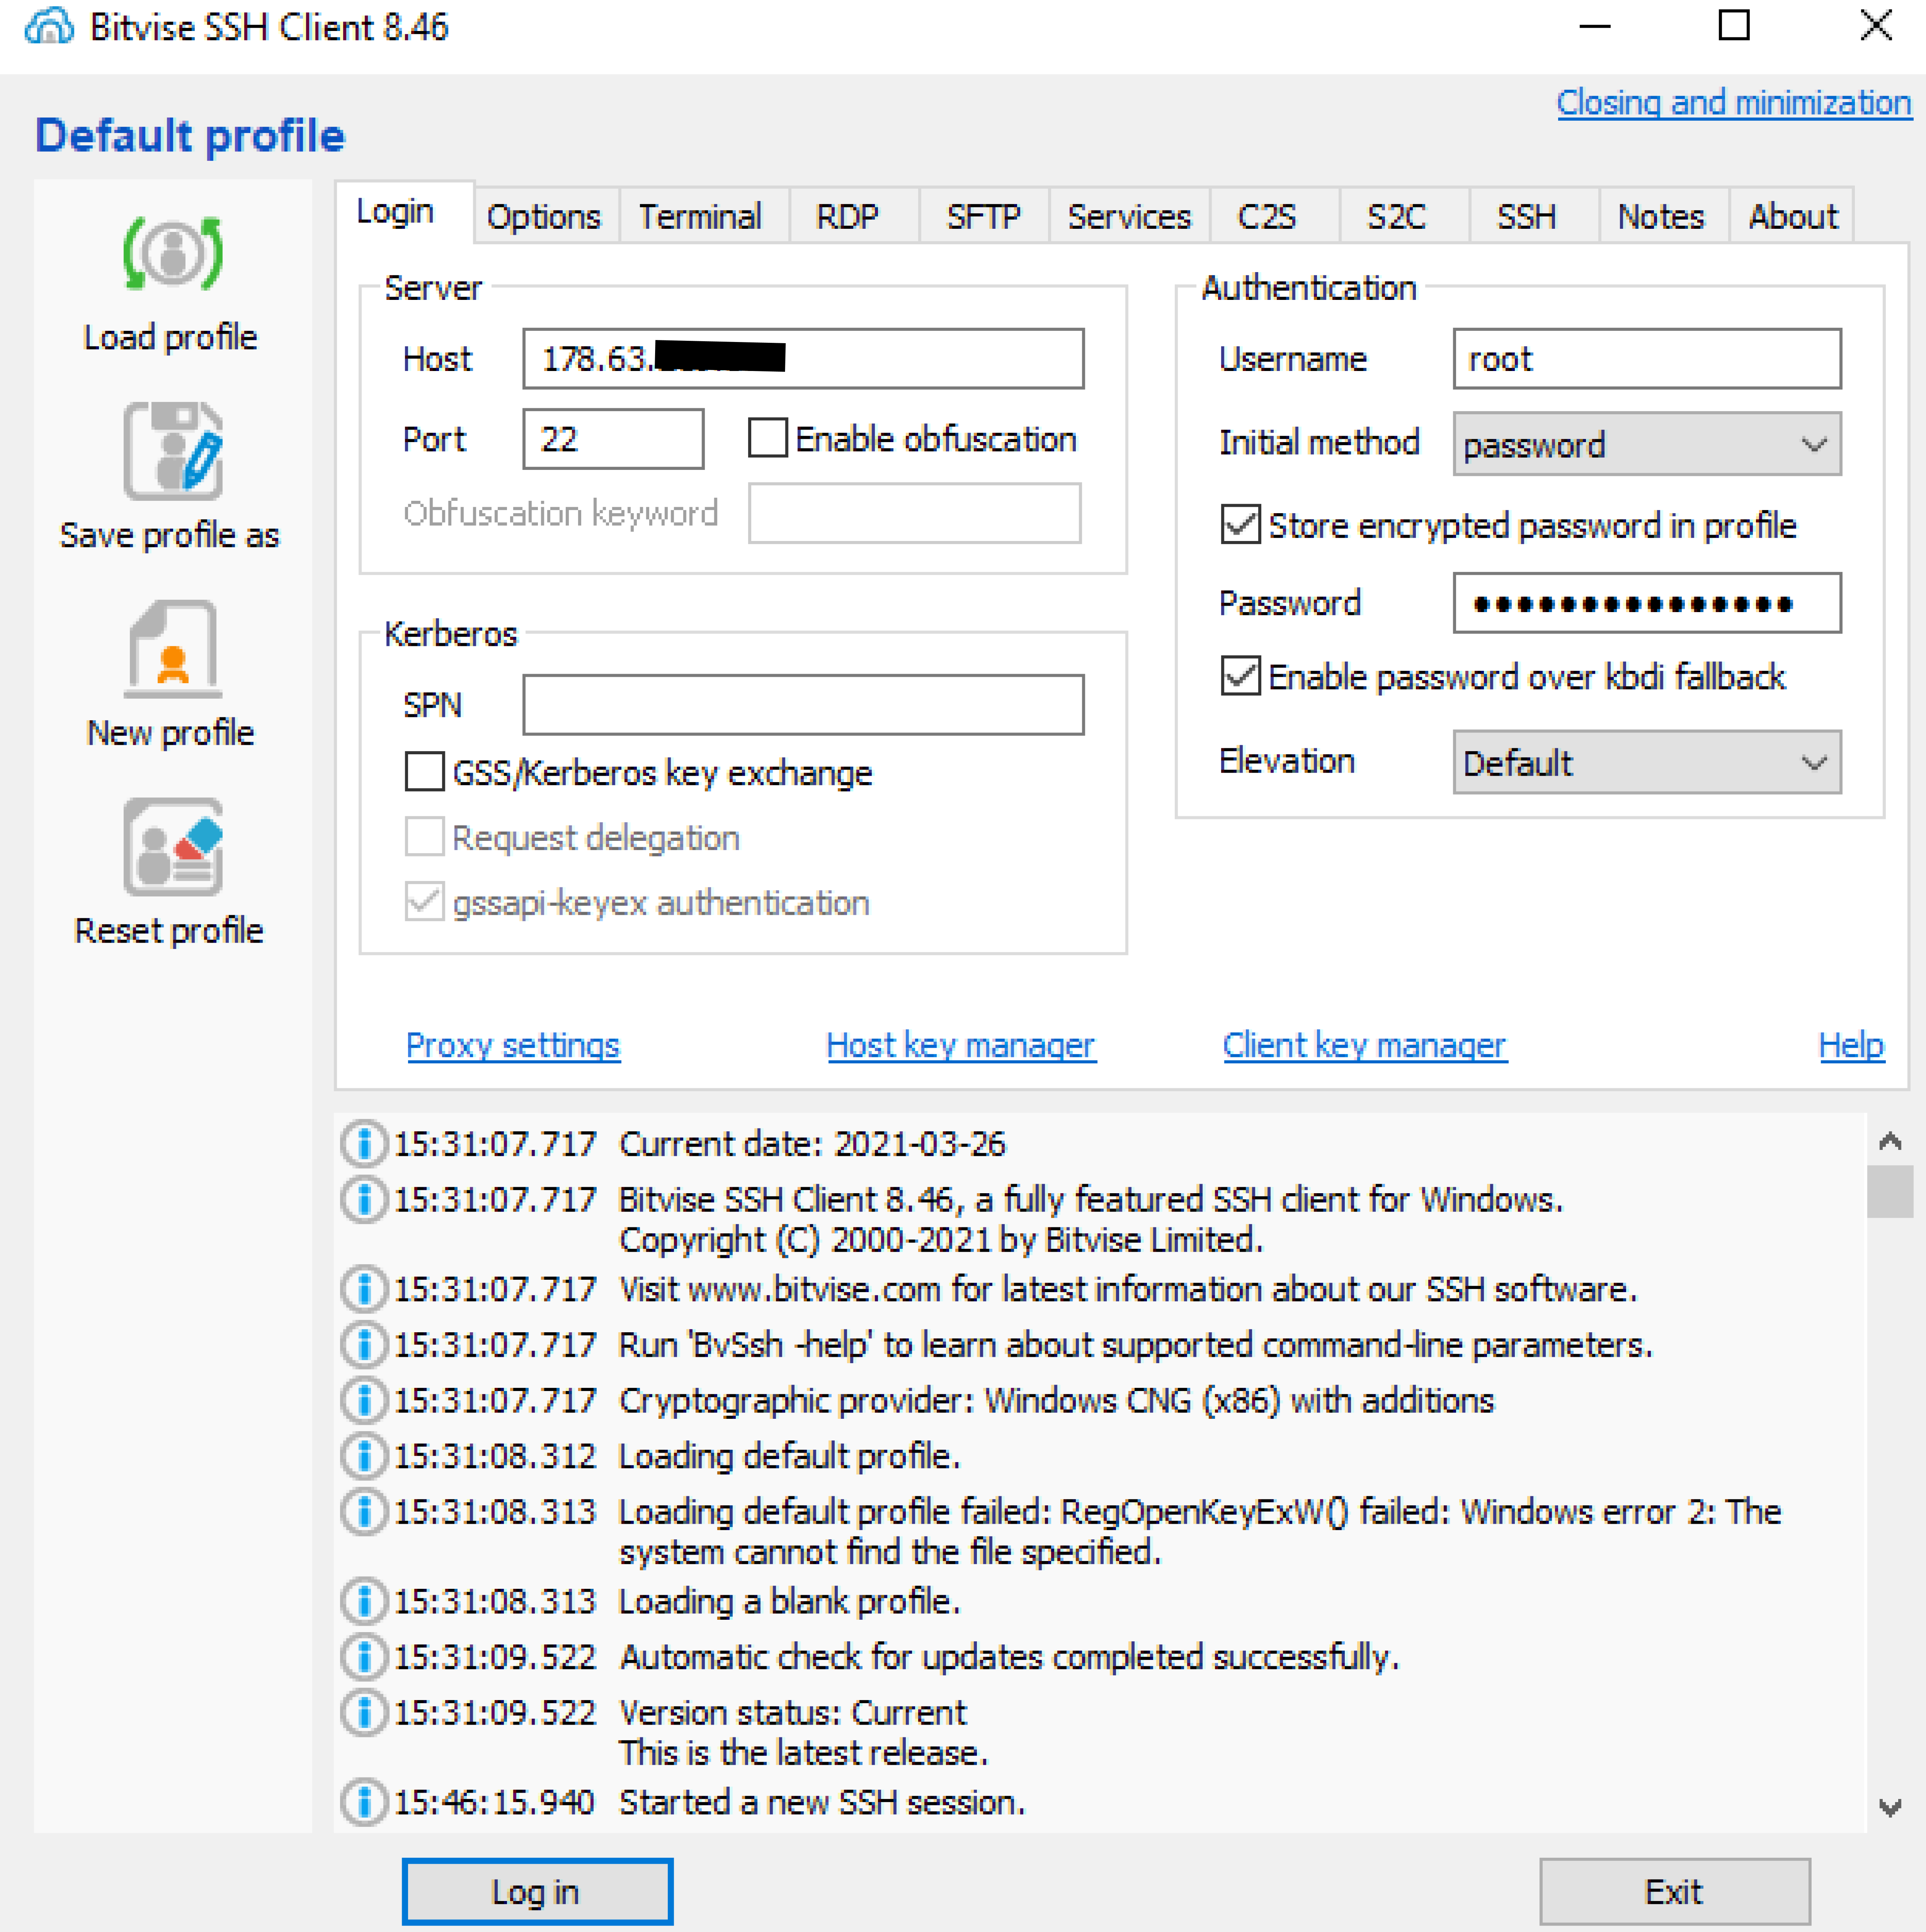
Open the application and type your server IP address and port number as 22 (default), If you configured a different port number for SSh then you need to use that number here
In the authentication, section enters the username as server user name and select password in the initial method and type your server login password then click on the login.
Based on your preference Bitvise will generate a Host key for first connectivity to the server After accepting the host key the connection will establish between server and computer.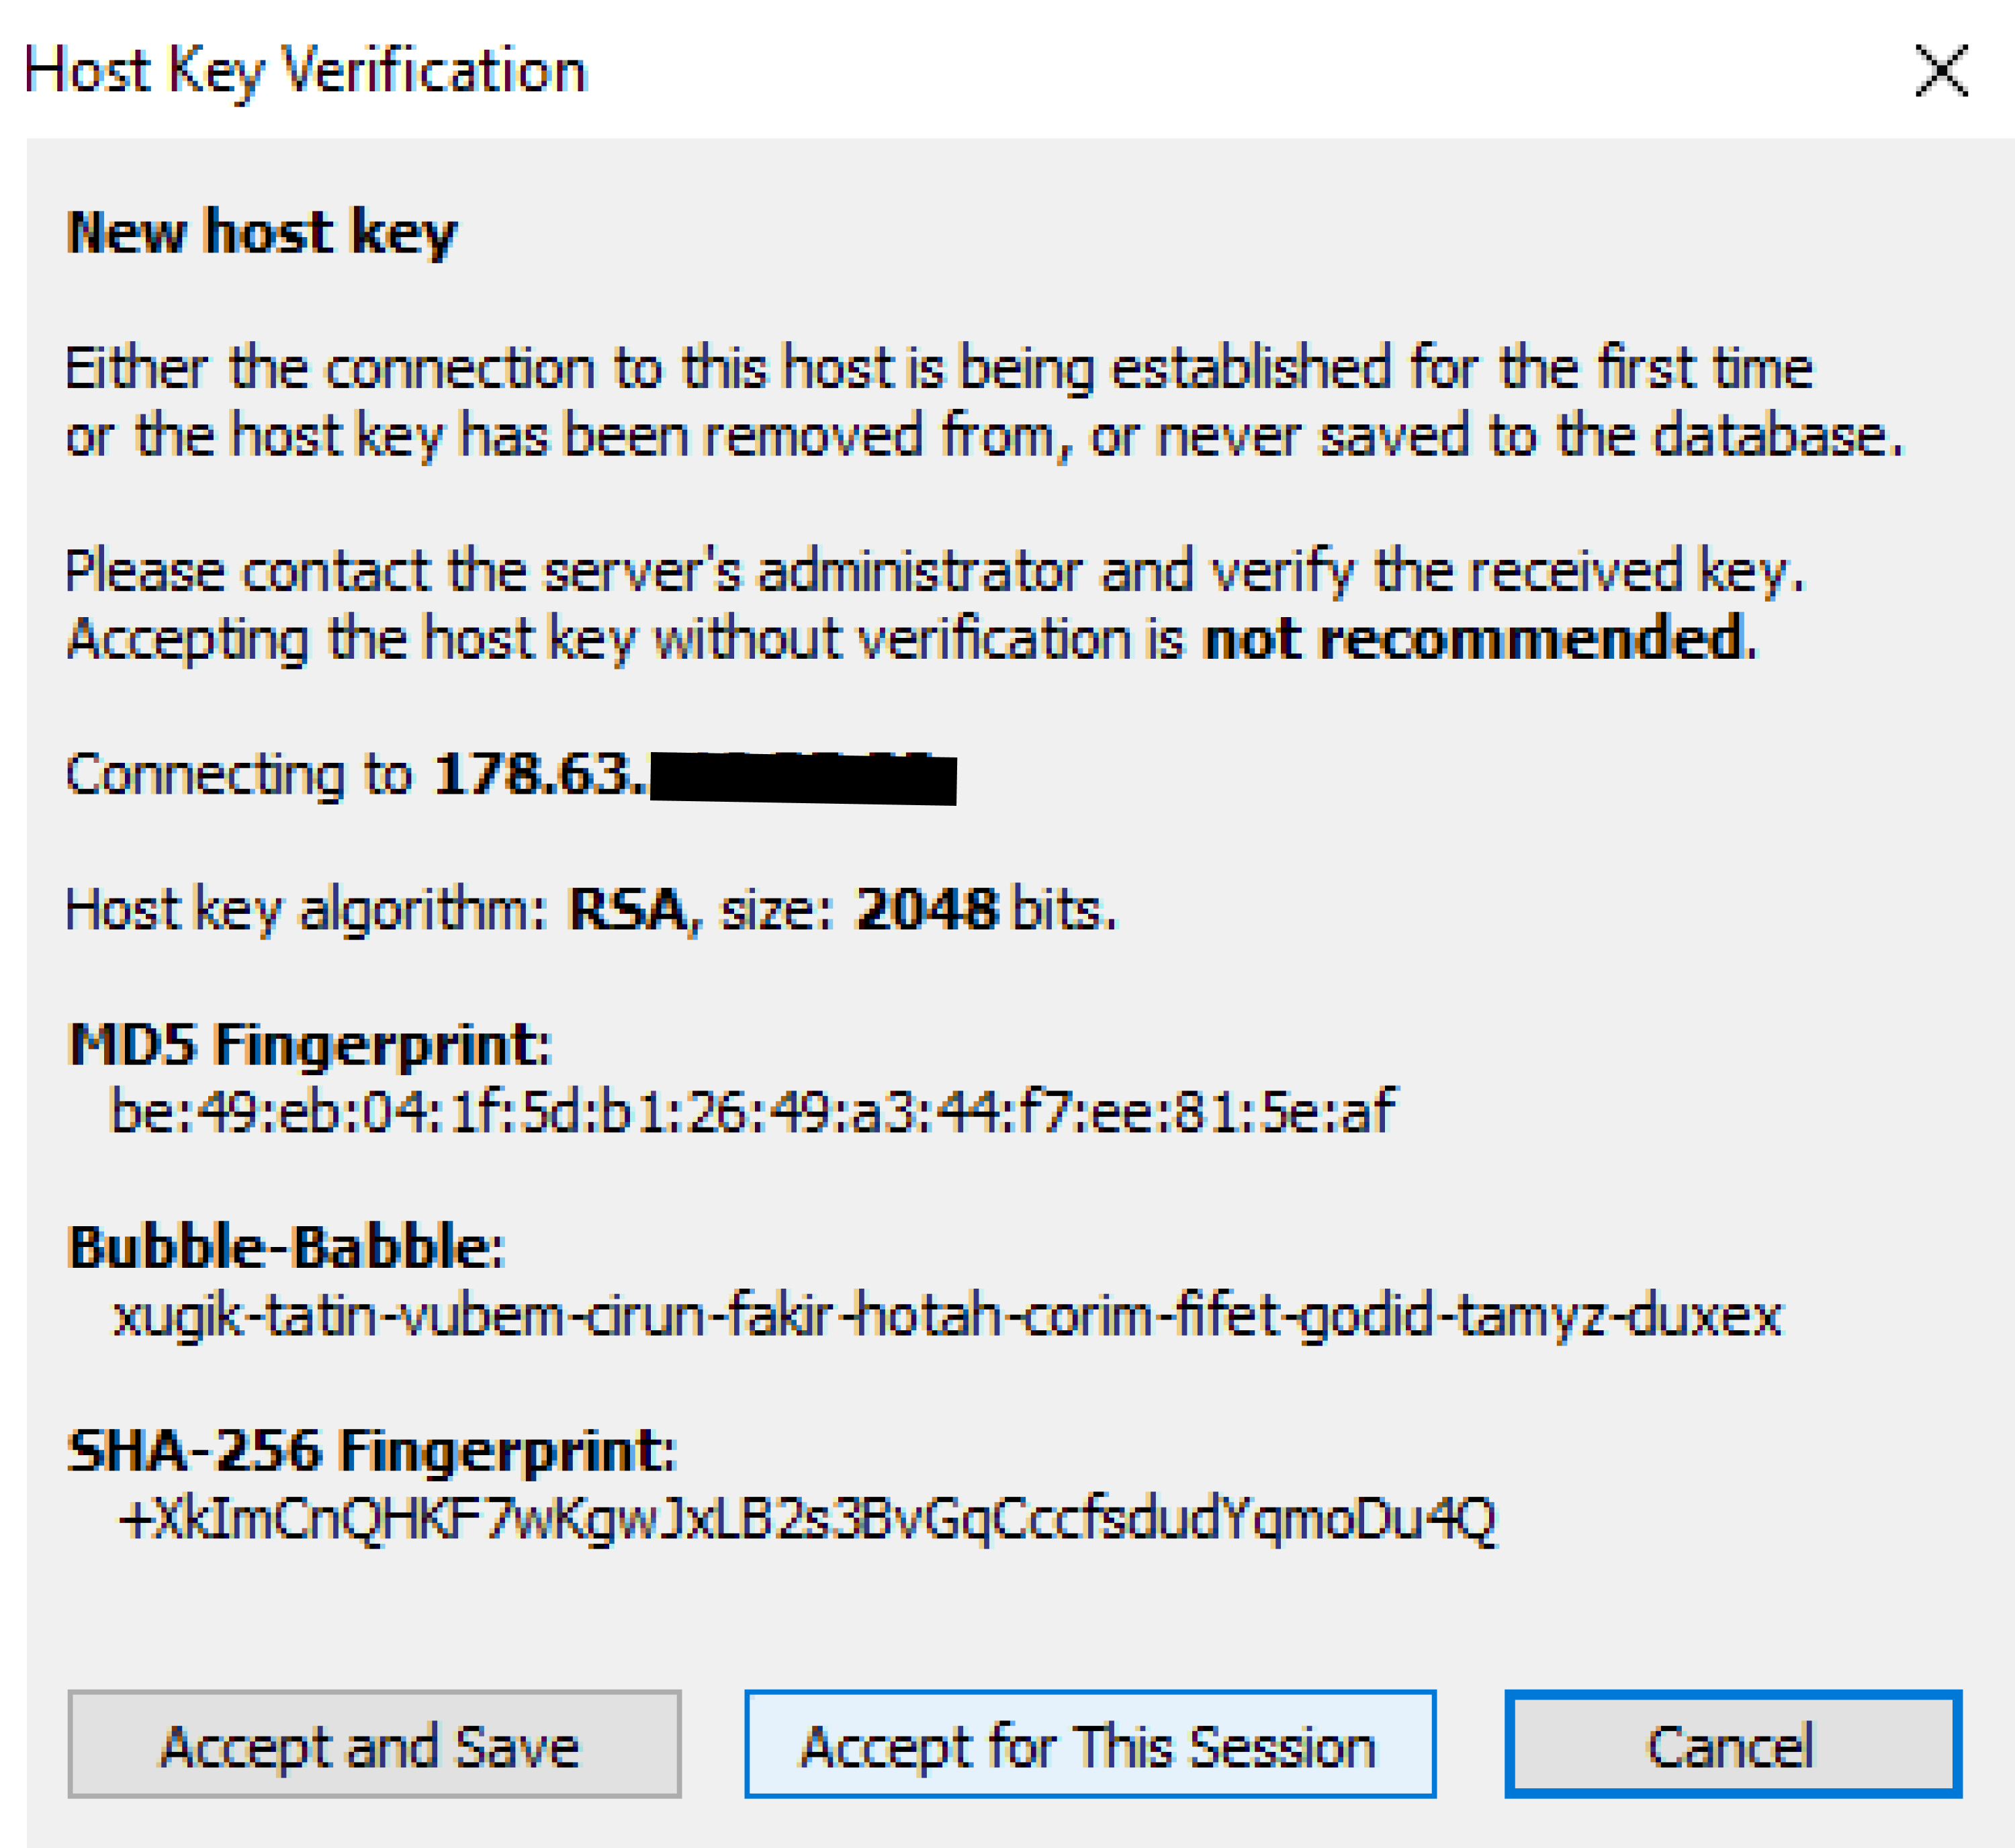
Once you get the Authentication complete message it means your computer and server got connected and you can perform any upload or downloading tasks.

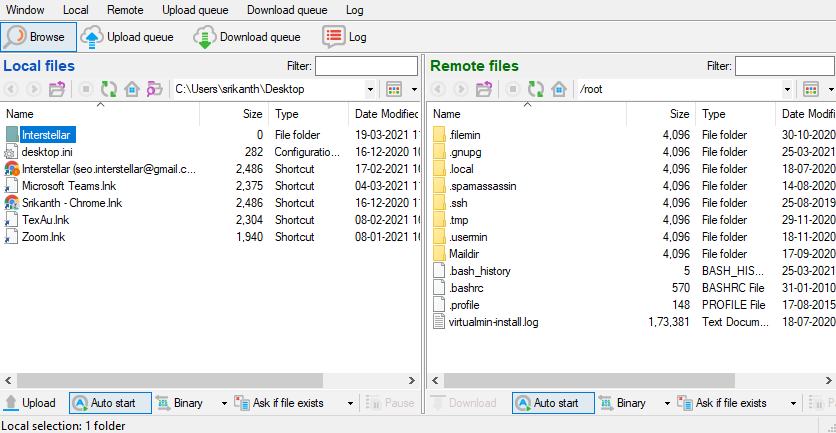
4. Accessing files through SFTP
Once the authentication is complete you can access the files from your server using SFTP, Click on the New SFTP window on the left sidebar.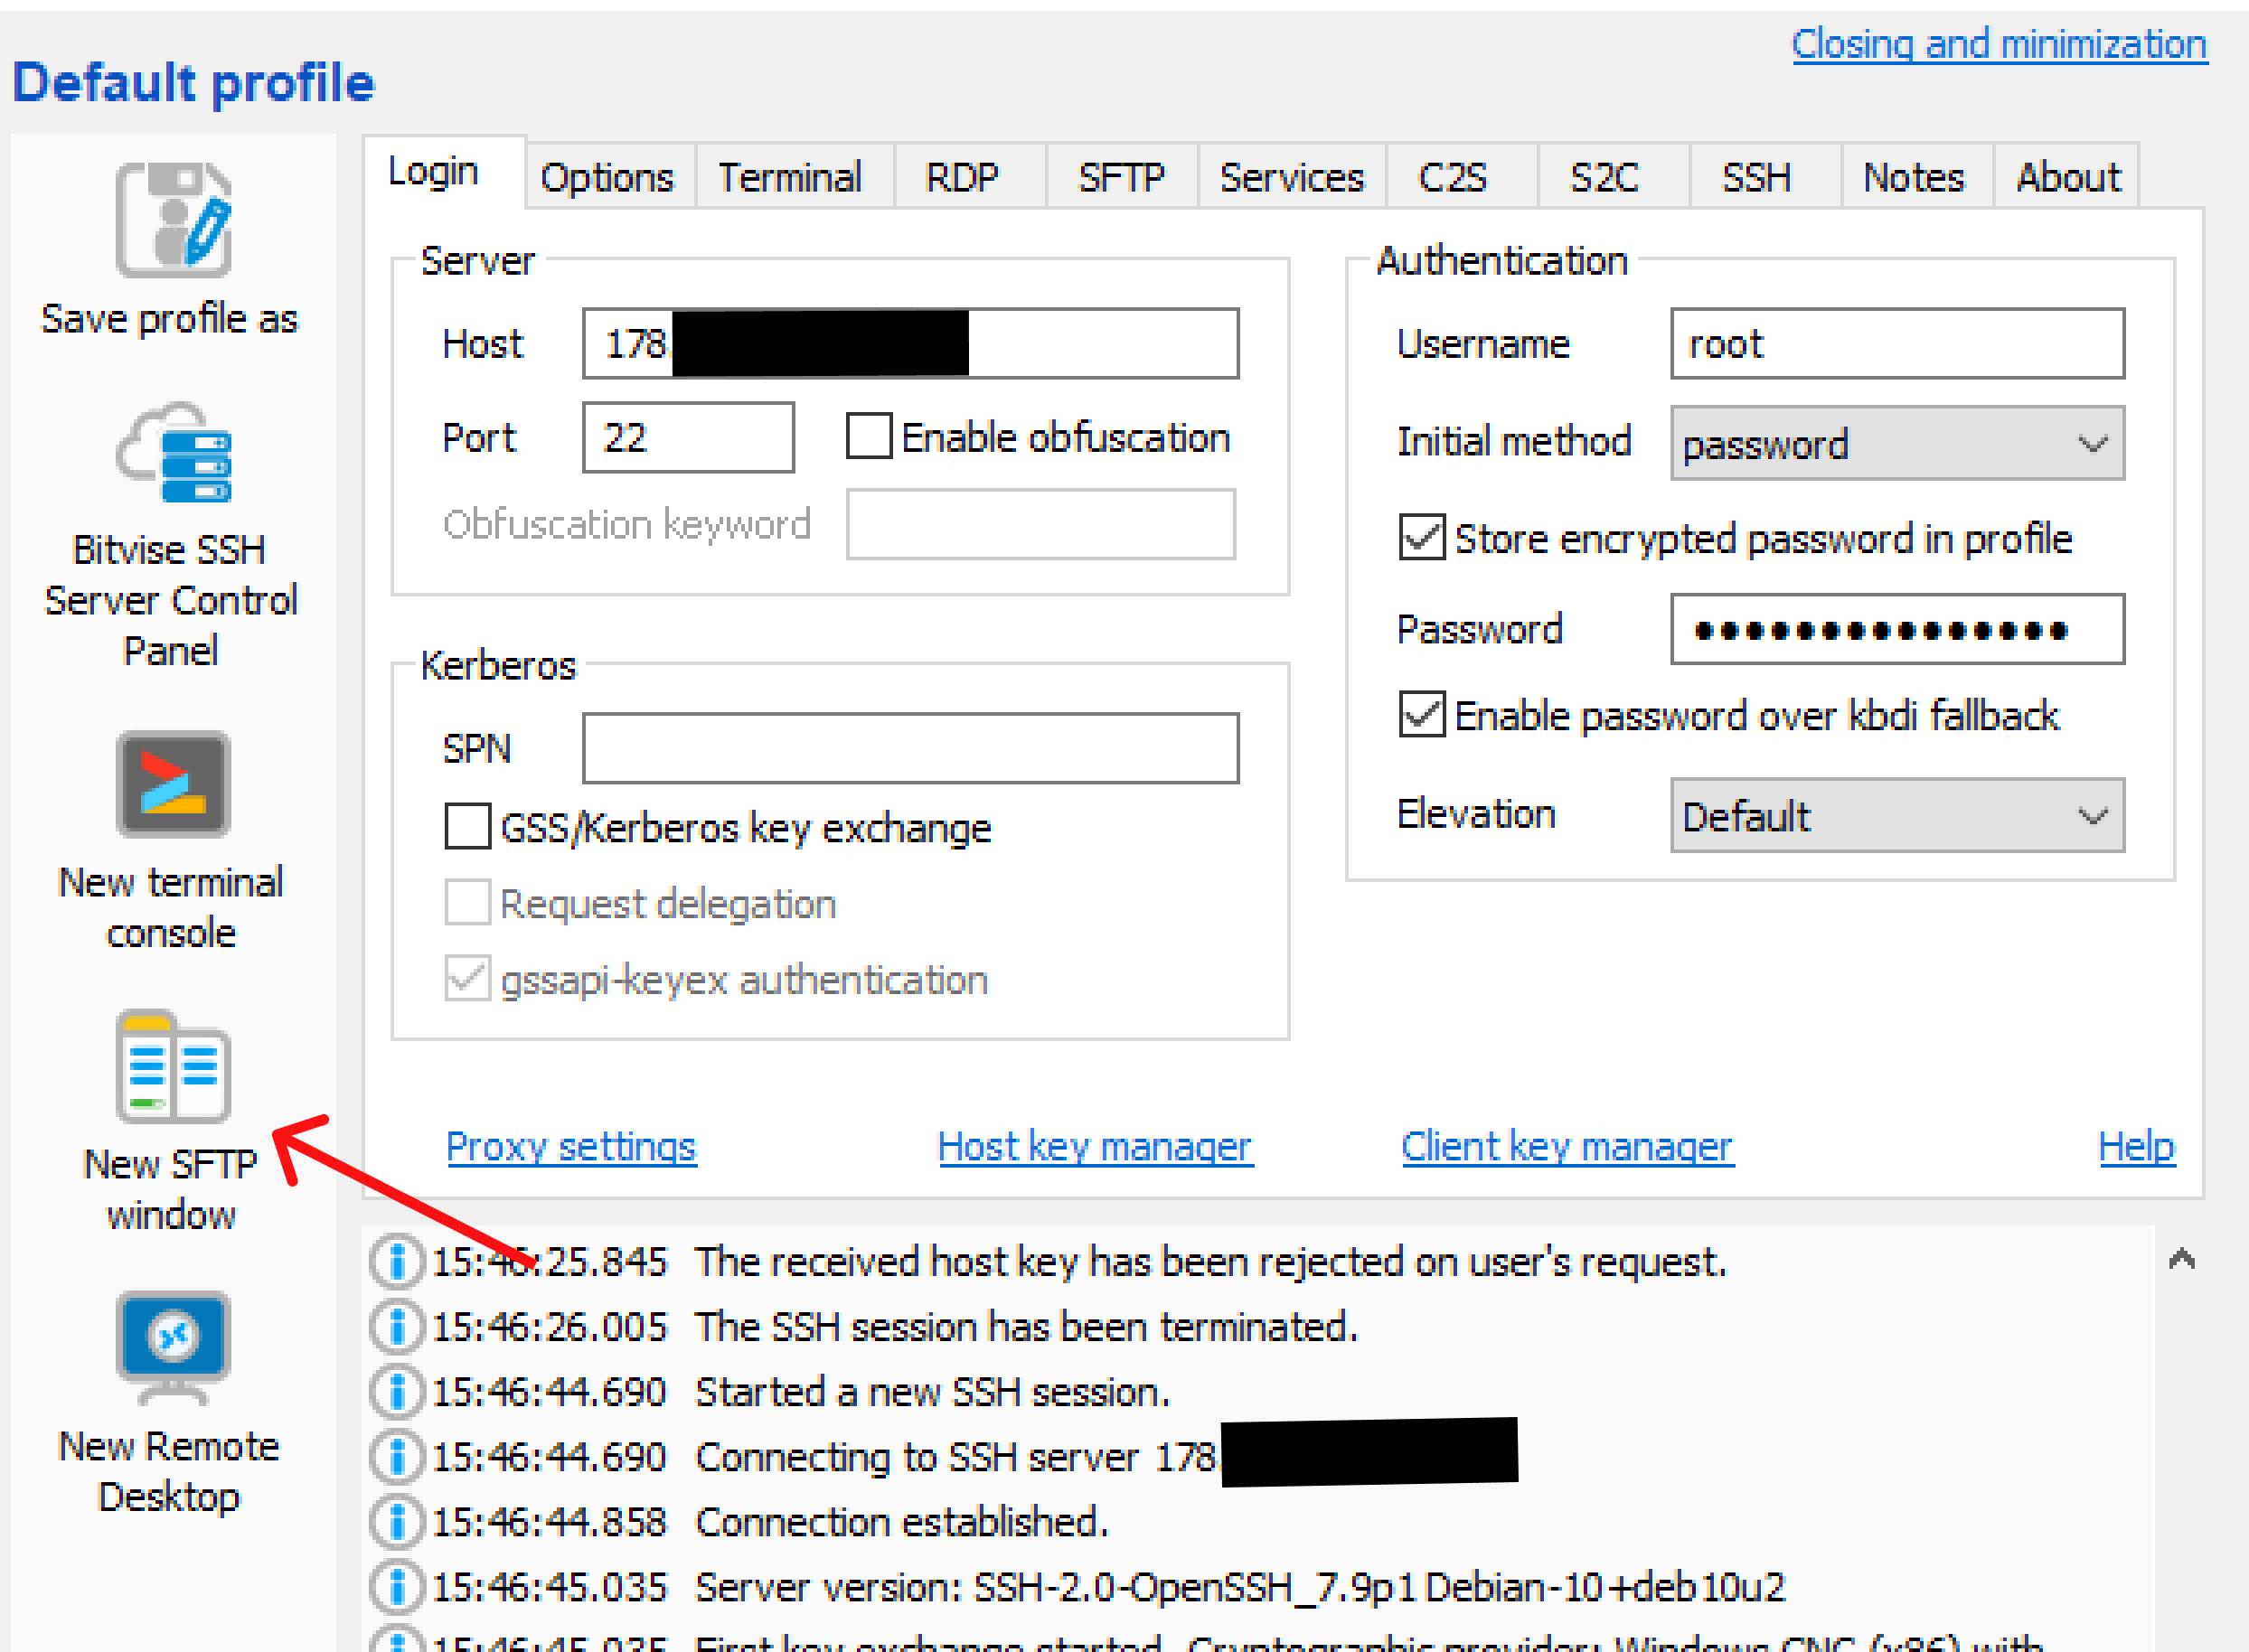
Then one new window will open with local computer files on the left side and your connected server files on the right side, You can upload or download any files from your server and if you want to upload any files to the server you need to just drag and drop that file.
Now you are connected with server files you can do any actions with respect to files.