

Mozilla Thunderbird is a totally free as well as open-source cross-platform e-mail client and also chat client established by Mozilla.

In this article, you'll learn how to use Thunderbird as your email client to send and receive emails.
Below are the steps to set up Thunderbird to access your Mailbox:
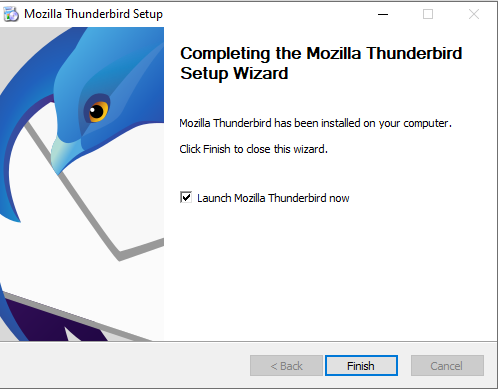
1. Download and Install Thunderbird
Go to https://www.thunderbird.net/ and download the application installer for the OS you are using.
Open the installer, Choose Recommended settings, then click Next and Install the Application.
2. Setup Your Email Account
Once you have installed it, open the application. A window will pop out asking for credentials. How to get credentials?
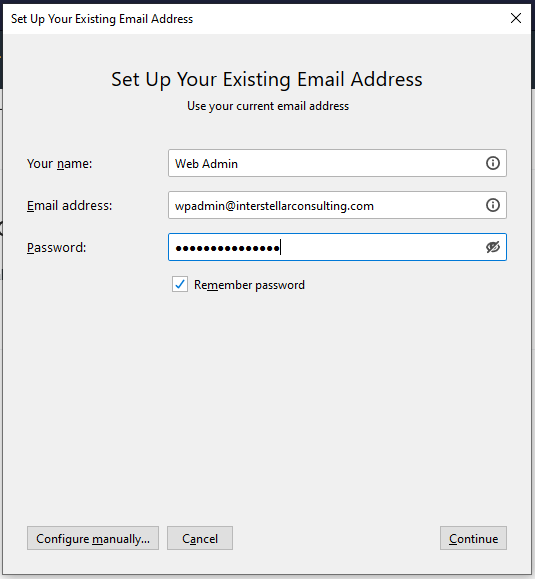
Enter the required credentials (Your email address, Name, and Password), then click Continue.
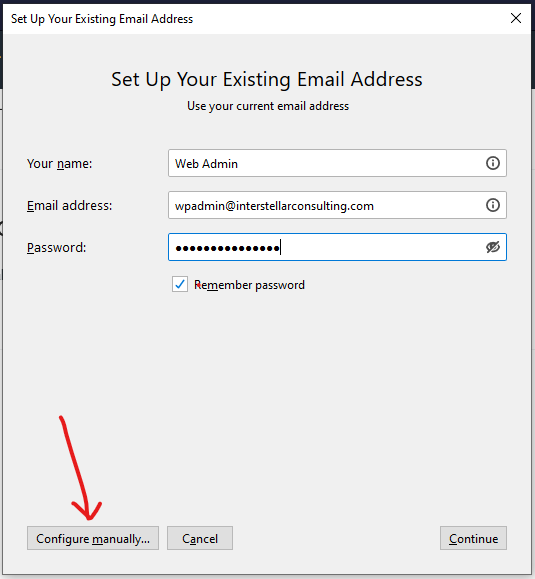
This should work in most cases. If it doesn't authenticate, then you will be required to manually configure,
To do so, click on the "Configure Manually" button, as shown in the image below.
Here you need to enter the following details
- Server: mail@{your domain} (for eg: mail@mydomainname.com)
- Incoming Port: 143
- Outgoing port: 587
Then Click Retest
If the configuration is correct, you will get a notification as shown below

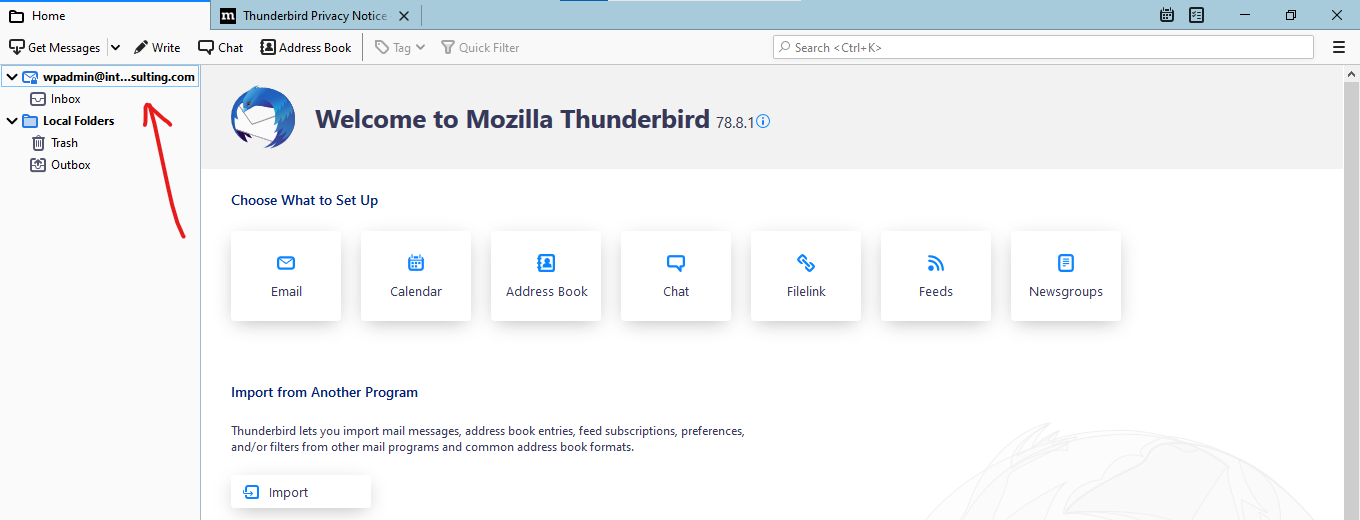
Now click Done. You will see the mailbox address appears in the sidebar.
If your emails don't appear in the Inbox, You can click on "Get Messages" to force sync from your mail server

That's it. Now your emails are in sync.
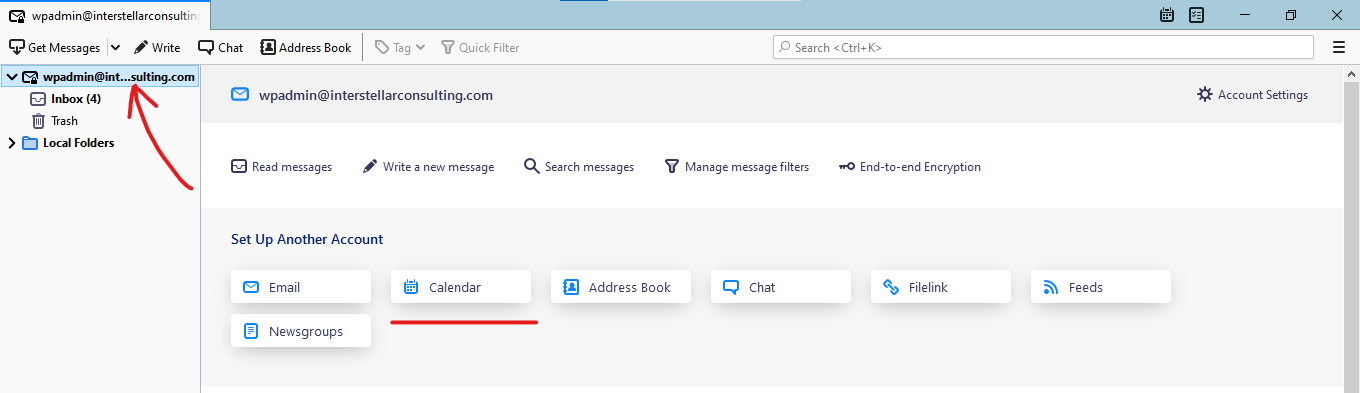
3. Setup your Calender
Thunderbird has an inbuilt calendar feature, like many other email clients, to set up your calendar click on your email Id on the sidebar, then select Calendar as shown below
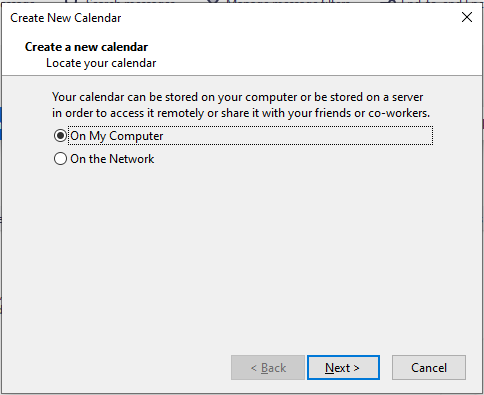
Here select On my computer, click next
Provide a nickname, set everything else to default, and click Next. Thunderbird will configure everything for you, once the calendar is created, you'll get a success message.
Click Finish
On the right side of the App, you'll see the calendar has appeared, Now you'll be able to add events and appointments, by clicking the New Event button.
All set. Now you'll be able to use Thunderbird to send and receive emails, also as your calendar.